AEG Upgrades/Maintenance
This is a guide to cleaning and re-assembling AEG gearboxes. If you want to fit upgrade parts, replace failed gears or just clean it up this is how to do it.
The photos show gearbox v2 (MP5, G3, M16, etc). Gearbox v3 (AK, AUG, etc) is very similar. The other box types are all basically the same (with the exception of the Uzi) but there are distinct differences.
1. The first step is to totally dismantle the box. When you split the two halves be careful not to loose the spring guide when it leaps out. When you remove the gears, take care not to loose the shims (small metal discs used to space the gears). These might be stuck to the bushes (the plastic sockets that the gears run in) so scrape them off and put them with the gears.
Once you've got everything out, wash the gearbox out with oil. You need to get rid of all of the old grease in the box. If you have stripped a gear then this is very important as the stray teeth can destroy a set of new gears.
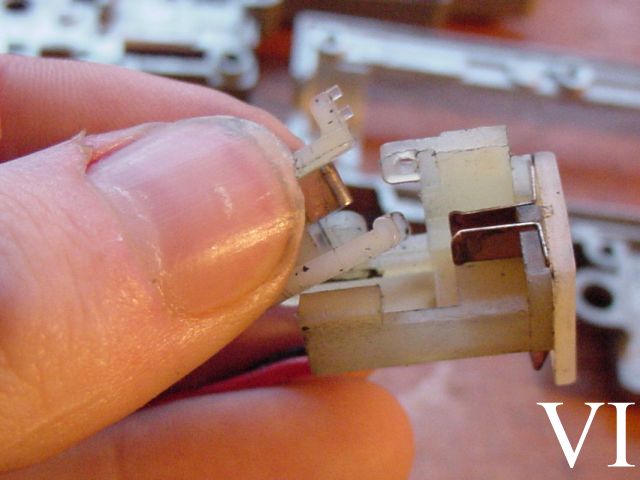
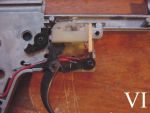
2. Next is the wiring loom. Before you put it back in, check that the contacts are clean. Give them a rub with a bit of cloth and if neccessary have a go with a file until they're clean.

3. The wiring loom then needs to be replaced. Once it's in, the small coil spring on the trigger contacts needs to go on.
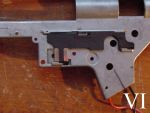
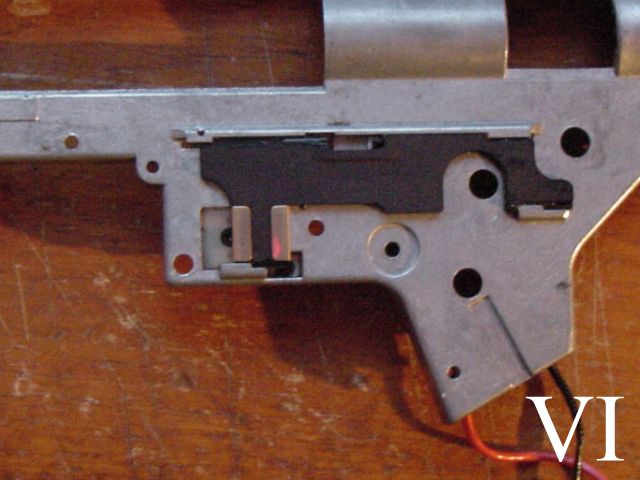
4. Flip the gearbox over and slide the selector plate into place. Make sure that the contacts are clean (as above)

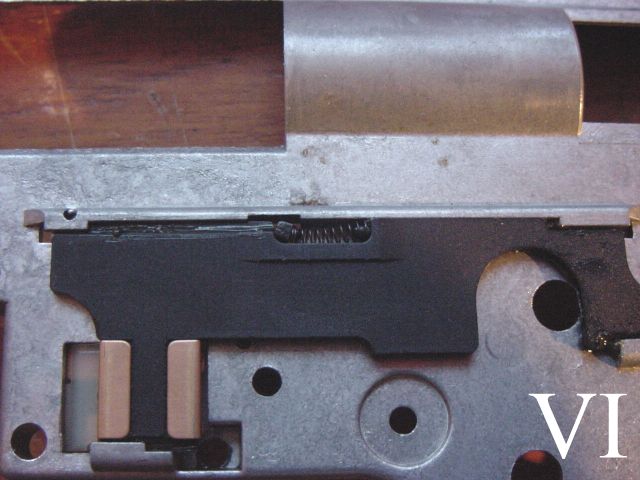
5. The cut-off lever (this lever disconnects the trigger for semi-auto operation) fits in underneath the trigger mechanism. Make sure that you put a drop of grease on there before you screw it down.
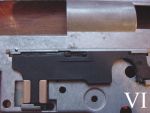
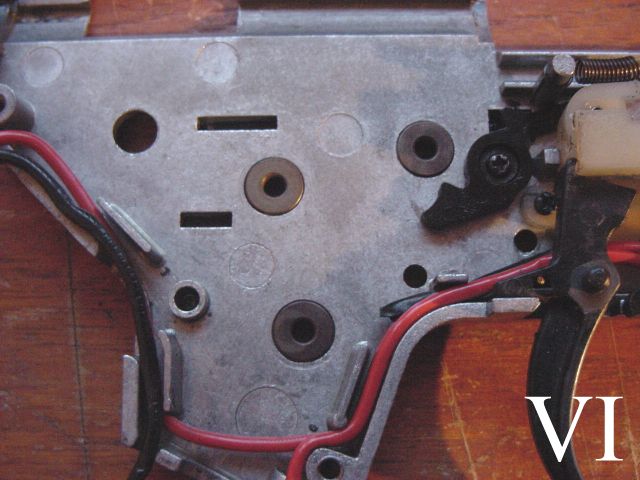
6. Back onto the outside again, and the small coil spring needs to go in between the selector plate and the cut-off lever. Also, you can fit the trigger and the safety lever at this point.
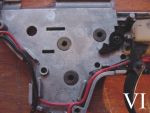

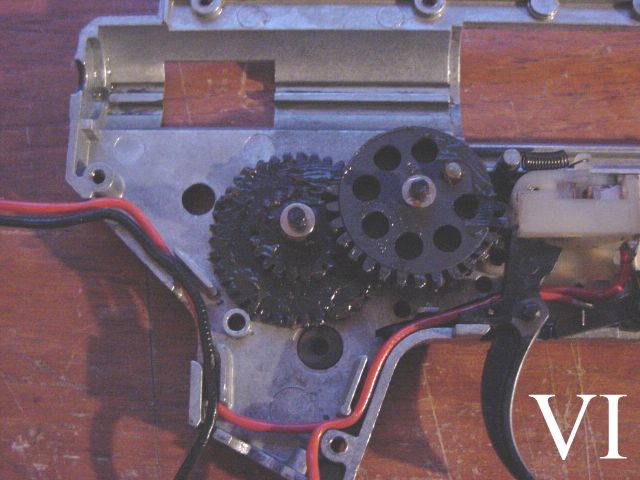
7. Now it's time for the gears. First, fit the bushes to both sides of the gearbox. Then thee gears need to be prepared. If you're keeping gears in there then clean all of the grease off them (especially between the teeth). If you've got new gears, they'll need to be shimmed up as per the diagram that came with them. If you're using systema gears, I recommend buying a packet of systema shims as the TM shims are not the correct thickness. (the systema shim set contains a variety of shims that suit Marui gears as well) You can use a drop of grease to stop the shims from dropping off.
The middle gear (the wide, flat one) goes in first followed by the sector gear (the one with half it's teeth missing). Get a good dollop of grease on the teeth while they're going in.
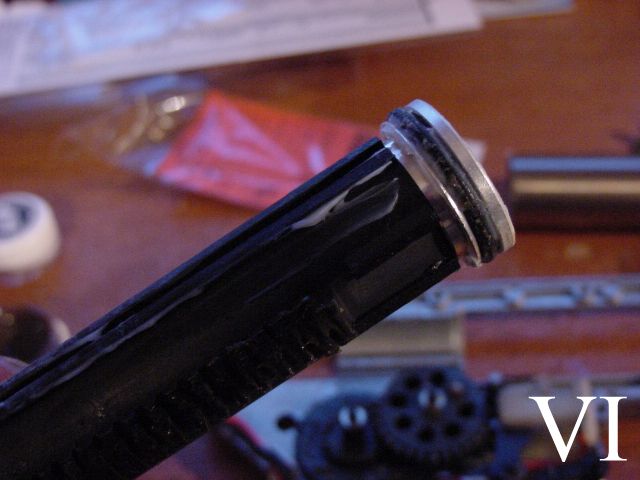
8. On to the cylinder and piston. If you're sticking with the existing ones then they'll need a good clean. Make sure that you get all of the crap out from between the teeth on the piston.
Stick plenty of grease on the piston teeth and then on the o-ring. For the o-ring, you want the minimum of grease - just enough to let it slide smoothly.

9. The cylinder and cylinder head should fit neatly into their slot. If they don't seem to fit properly, try adjusting the position of the cylinder heat - you can adjust how deeply it sits in the cylinder. Fit the air nozzle onto the cylinder heat and fit the tappet to the nozzle. Then you can slot the whole assembly into the gearbox. Check that the slot on the side of the piston is porperly engaged with the side of the gearbox. If you have a medium or short barrelled gun, the cylinder will have a slot in the side - make sure that this is not covered by the gearbox.

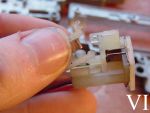
10. Fit the anti-reversal latch and it's spring into position, ensuring that the spring is in the correct position.

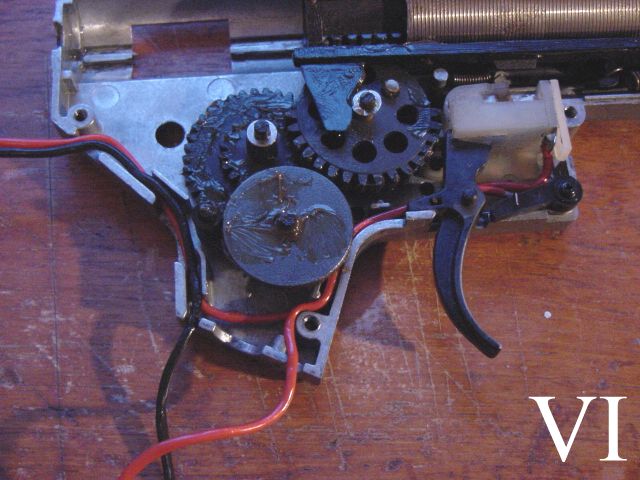
11. Fit the bevel gear. The easiest way to do this is to push the anti-reversal latch out of the way with the gear - it's much easier than trying to hold it out of the way.
12. Nearly finished now. Put the spring and spring guide into place but don't try and compress the spring. Take the other side of the gear box, put the first two fingers of your dominate hand through the gap where the cylinder fits and press down on the cylinder with them. Now you can hold the cylinder down with your right hand and compress the spring with your left. Having your fingers through the top half of the box means that you can put it into position without releasing the cylinder.
The top half of the box will probably not fit entirely on. There are a number of points that you need to check. In order:
- check that the safety lever isn't sticking it - just push it upwards
- look at the top of the bushes, are all of the gears engaged? If not, you can use something thin like a small allen key (slid into the gap between the box halves) to manover them.
- Finally, check that the anti-reversal latch is engaged into the hole in the upper half of the box. If not, there's a handy gap in the box next to it where you can push it into place.
At this point the box should drop into place and you can start putting the screws back in.
by Scott (Section VI)