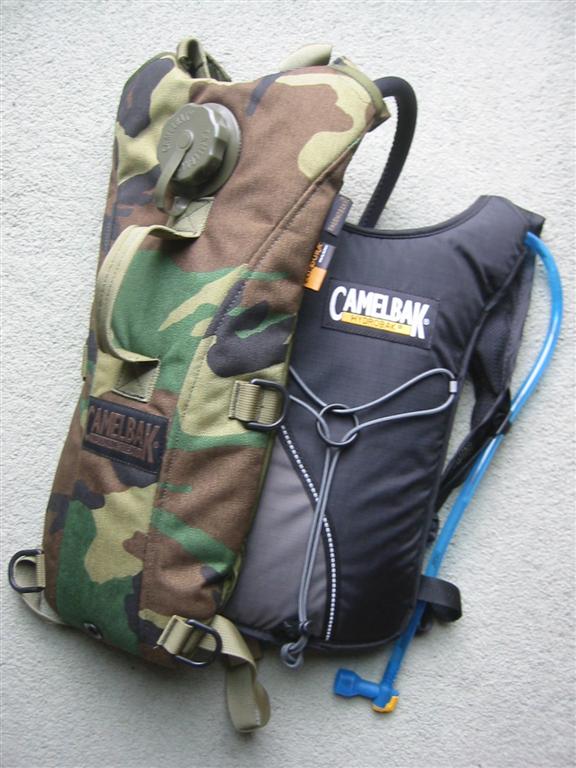
"Hydrate or die" what a wondrous catchphrase! Here in the hottest day of the year yet water, and more specifically my rehydration came to mind.. this is somewhat unsurprising as it's over 30degC in the office and I'm working with no air conditioning having just returned from commuting around town on my mountain bike. How many? I own three different CamelBaks, one for cycling (the Ventoux), one for skirmishing (the Thermobak), and one for day to day use, as and when needed (the Hydrobak).
Suffice to say MrsArnie can't quite see my reasoning for so much gear, but let me explain.. CamelBak, a brief history: Whilst researching the material for this article I discovered that CamelBak will be 10 years old in August this year. Michael Edison the man behind CamelBak came up with the idea after competing in the "Hotter 'N Hell" cycle race in Texas. Fed up with fumbling for drink bottles during the race he set to work with his tools and came up the first CamelBak. Consisting of no more than an I.V. bag wedged into a bike sock with some metal piping, stitched to the back of a T-shirt! The name? Well it was given the impromptu name buy its creator for it's "hump like shape on the cyclist's back". Today the same simple concept is behind the CamelBak range, although you'll find the hydration systems have been built into bags and apparel somewhat better looking that socks and old T-shirts ^_^. (source CamelBak USA) The large main compartment is suitable for everyday items from groceries to work files. The Ventoux includes an integral helmet holder and air channel back panel with internal frame sheet for versatility and anatomic comfort. Should you get caught out in the rain, don't worry as there's also a raincover included in the lower pocket to keep your CamelBak's contents clean and dry. 3 litre hydration capacity, 25 litre cargo capacity. Hydrate or die: It's a good motto, and one that drives the real need for this gear. When you exercise, no matter what you are doing you loose body fluids. If you've started to get a headache, or are feeling thirsty, you are already dehydrated. When you are dehydrated your energy levels will feel low, your attention span will be short, and worst case scenario you risk sunstroke. CamelBak mention (with research backed figures) that you should have about one litre of water on you for every hour that you are exercising. For one hour of exercise you should carry at a minimum a 40 ounce CamelBak, for two hours, you need two liters (one 70 ounce), three hours of exercise means three liters (a 100 ounce CamelBak system). It may seem a lot, but believe me, through experience you really do need it.
I was somewhat worried that the packs might burst if I fell of rolled on them. Well you don't have to be worried, shy of being shot these packs are fairly bomb proof. Backpacker Magazine in their own tests actually drove Toyota truck over a fully filled CamelBak, and it survived. Now I'm not doing that with mine (I paid for these suckers), but if you don't believe me, here's a video of the test that was done by the aforementioned magazine. CamelBak recommend keeping a full one in the fridge ready to go, and to be honest it's a good idea that I'd never thought of. Not only does the cool inhibit bacterial growth, you also have cold water ready to go out with you on the move. Remember that all the CamelBak hydration systems are insulated in some way, the fill openings are actually designed so that you can add your own ice to the pack too. Other useful hints are you can use Gatorade (or some other similar mixable sports drink) for a slightly different drink on the move. Gatorade or similar also helps stop the pack freezing up if you use the CamelBak under extreme circumstances. All packs fit snugly to the body and are therefore easier and more comfortable to carry than a standard canteen or water bottle, they are also easier (and safer) to drink from on the move. CamelBaks do not fill up with air as they dispense fluid, so will not slosh around on the move. When your cycling this is a real bonus, and out skirmishing the less noise you make moving the better. Use: When you get your CamelBak for the first time it needs to be washed through and sterilized before use. With mine I tend to wash them through completely a good few times to get rid of the plastic taste. I'd recommend washing it through twice completely, then filling and leaving full for a period, and then drained. Next up is the bite nozzle. This comes sealed when you get it. Don't cut it open! The nozzle needs a perfect sealing gap so as to stay water tight. Instead roll the piece between your fingers pressing quite hard and you'll see a little tear appear. That's it, you've prepped your feed nozzle.
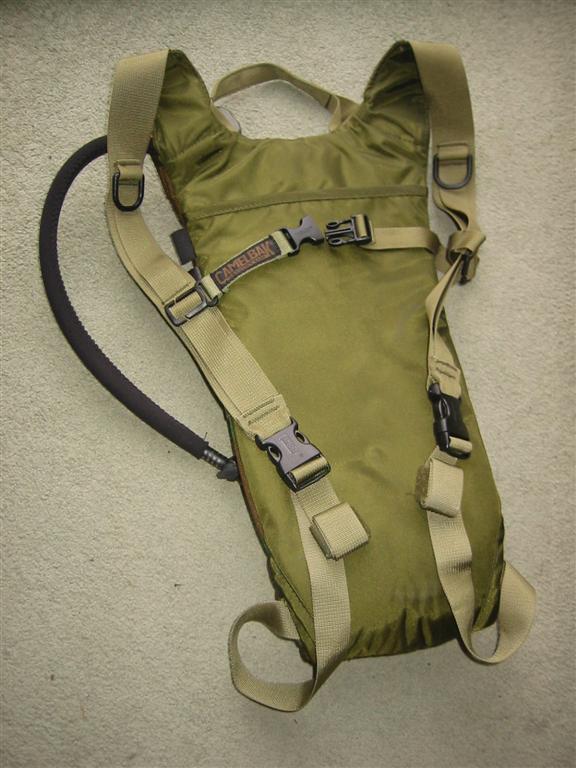
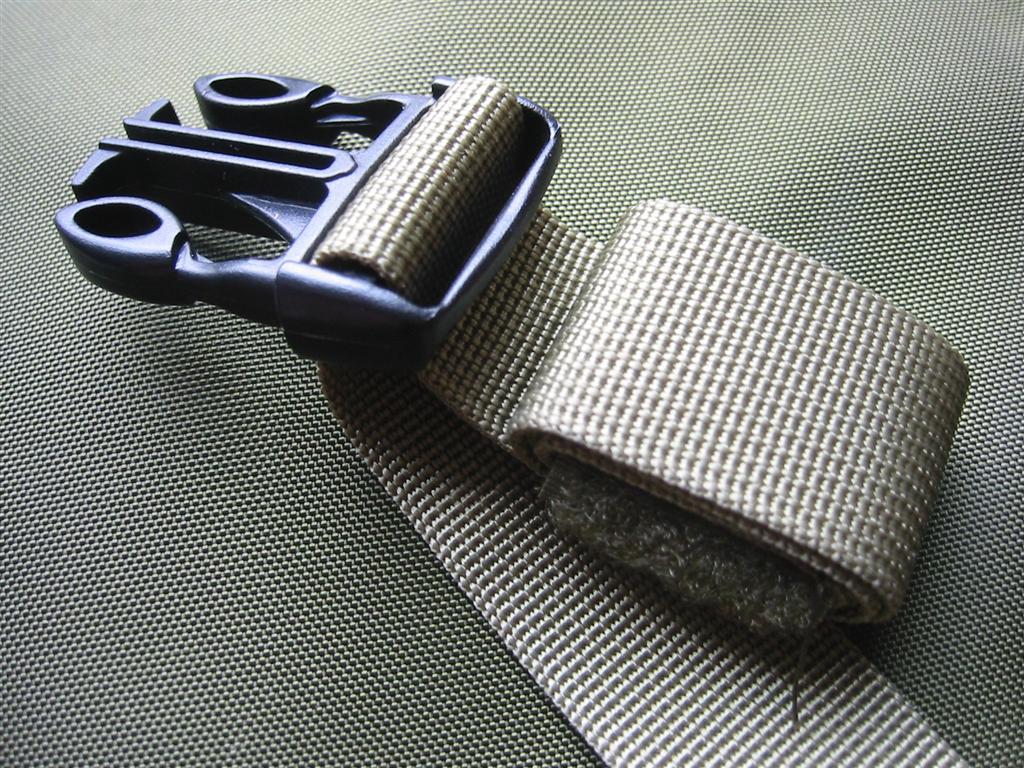
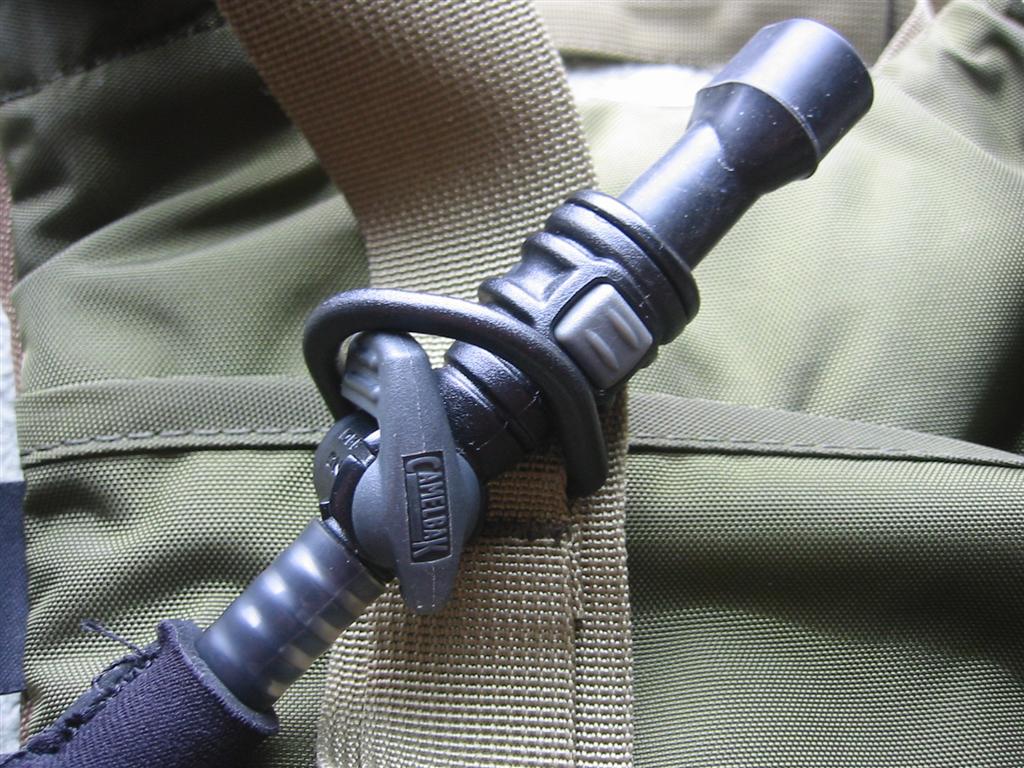
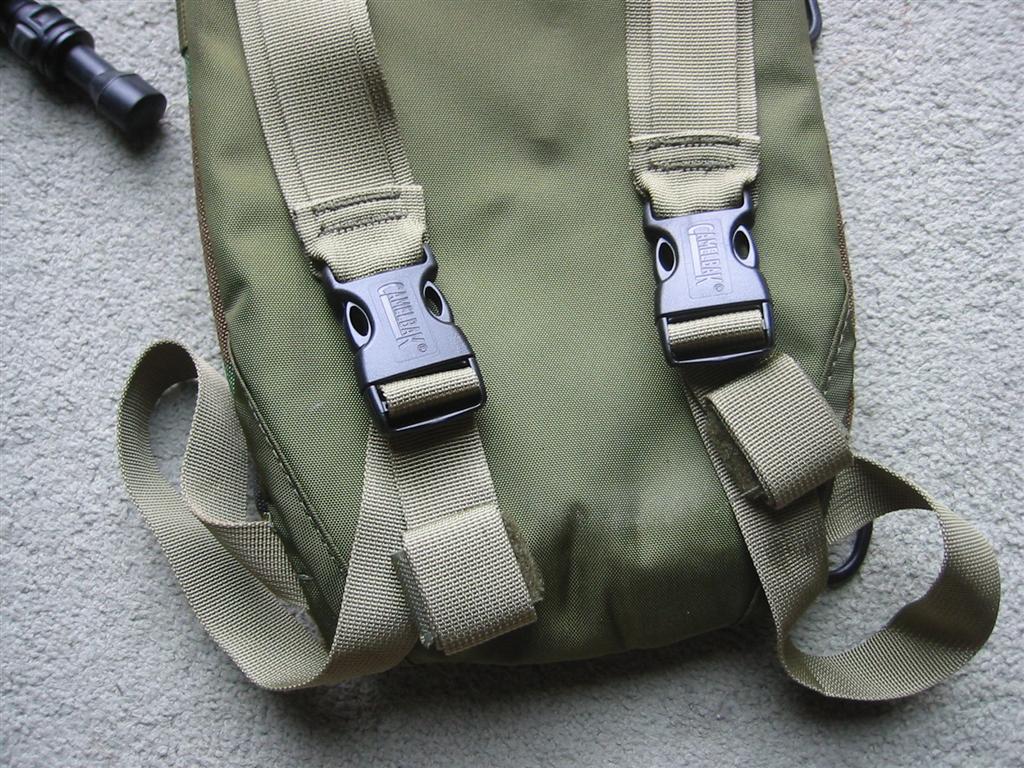
Cleaning: This is something you need to do every time you store your CamelBak. - dry it our. Never store your pack damp or with water in them, as black mould will grow on the inside, and the only way to clean it is to dilute some bleach (1 teaspoon to one liter), and wash it through and use the CamelBak cleaning gear, which consists of a mop and a pull through pipe cleaner for the feed pipe. After washing through with the bleach you'll need to rinse the pak our several times. You will find that it's difficult to dry out your pack, so I'd recommend getting the CamelBak hanger/dryer system, which is basically a plastic expanding hanger that you can hang the reservoir up with to dry more efficiently. Needless to say both of these accessories are not standard and need to be purchased separately. The cleaning pack is a real must, the hanger can be done without, but it's very useful believe me. The pack: Now you know what I'm talking about, and more specifically what they do, lets get on with looking at the pack itself. Thermobak (NATO: 8465-01-396-9917): The Thermobak is a milspec CamelBak, with a more rugged Cordura outer, and and easier filling system. The pack comes with fitted straps which can best folded away easily to allow the pack to be shackled to webbing easily.
" The new standard. You can count on the 3-liter ThermoBak® to go the extra mile. Its ergonomic design keeps it comfortable for hours on end. Quick-release straps stow away inside built-in pockets to allow easy integration with load-bearing equipment or web harness platforms."
The manufacturing specifications are given as:
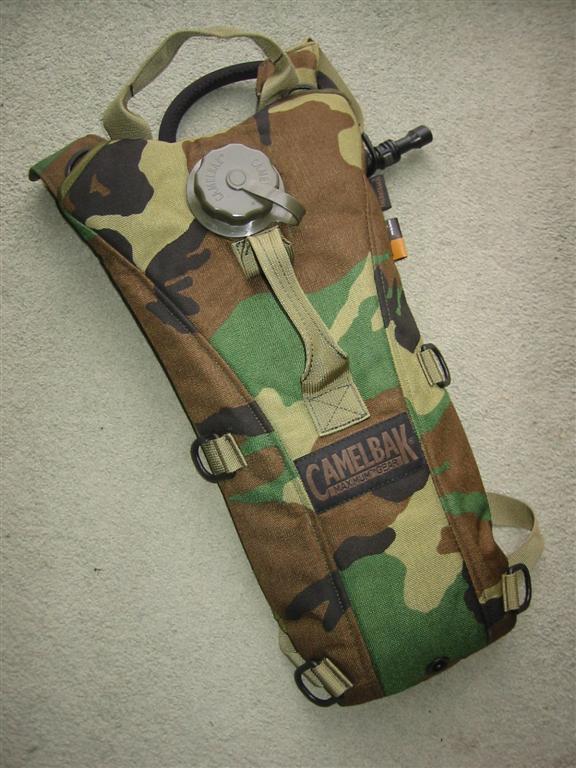
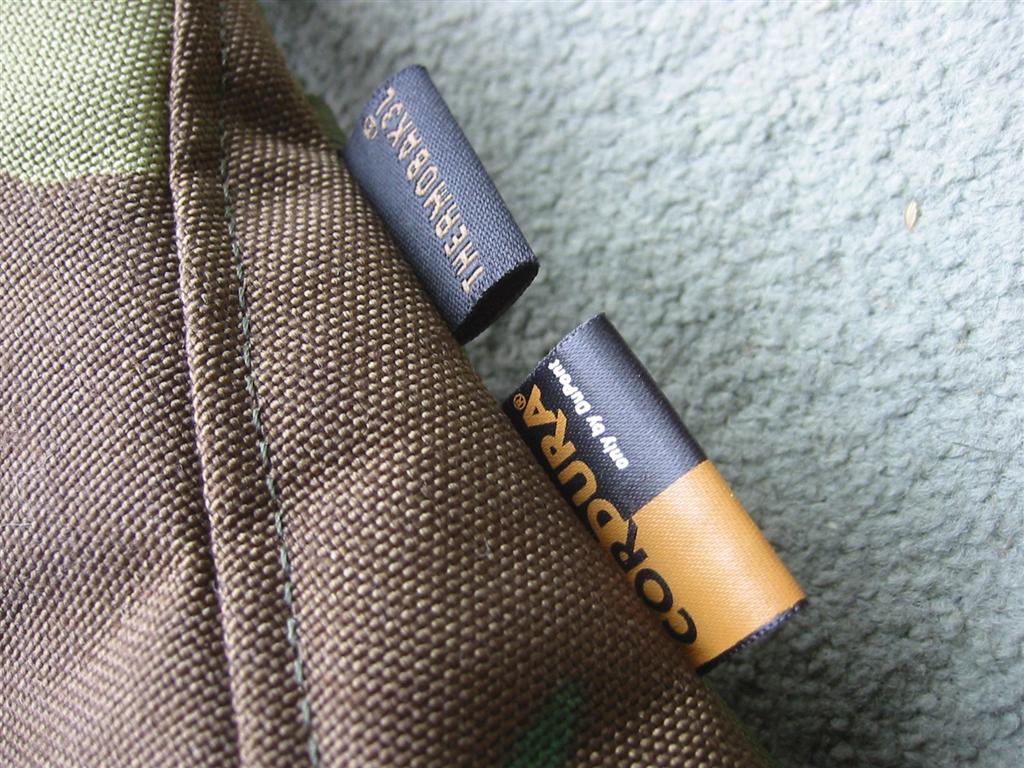
Feature-wise the ThermoBak is well built. You'll find the D-rings well made, and the stitching up to the par that you'd expect. The entire pack is made from DuPont Cordura, although not as light as the material of my cycling pack, it's more likely to stop thorns and other nasties puncturing the reservoir.
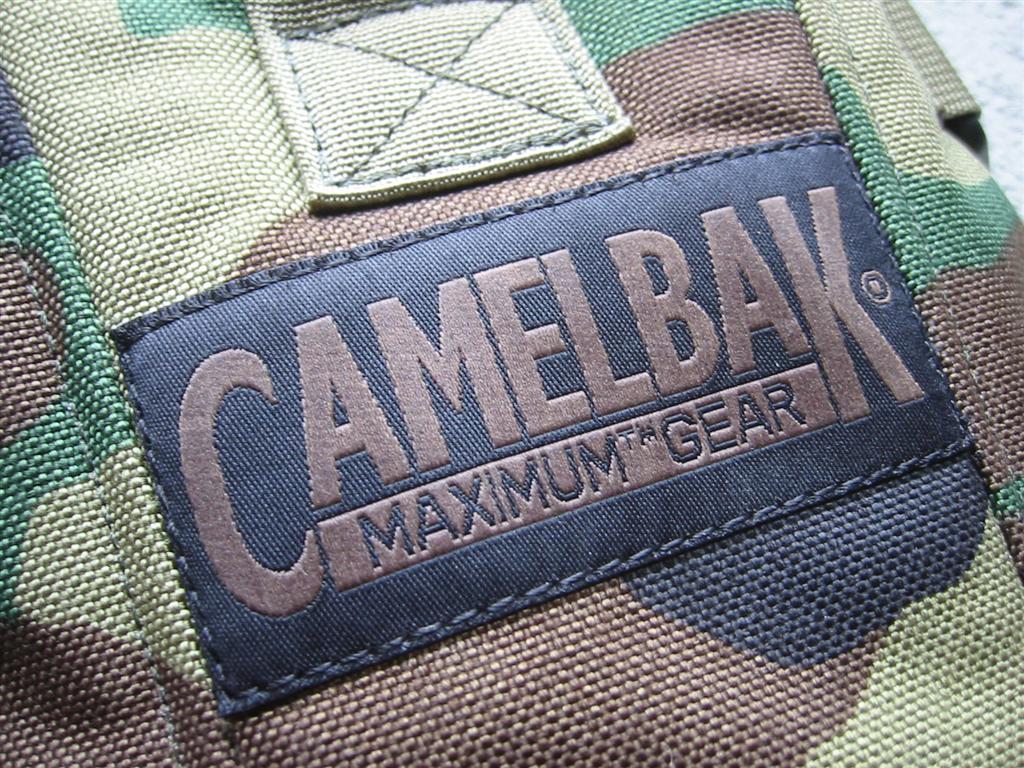
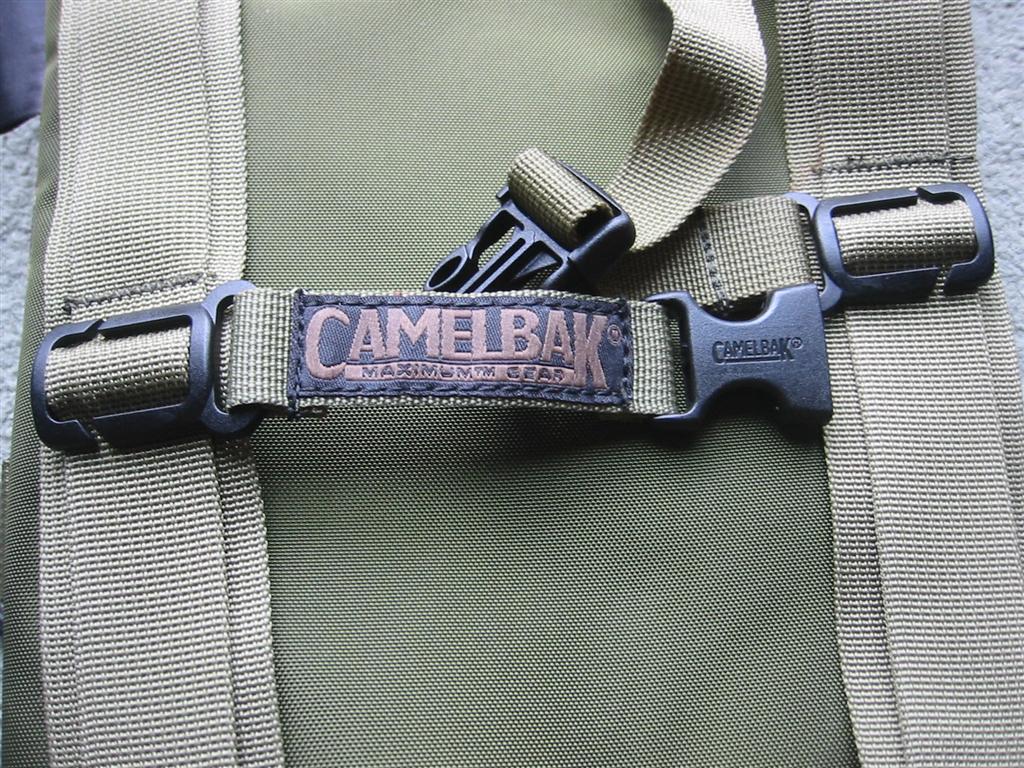
The CamelBak logo is on the back, but unlike many of their products the military versions are pleasingly understated with their colours. There's nothing like white labeling for giving away your movement.
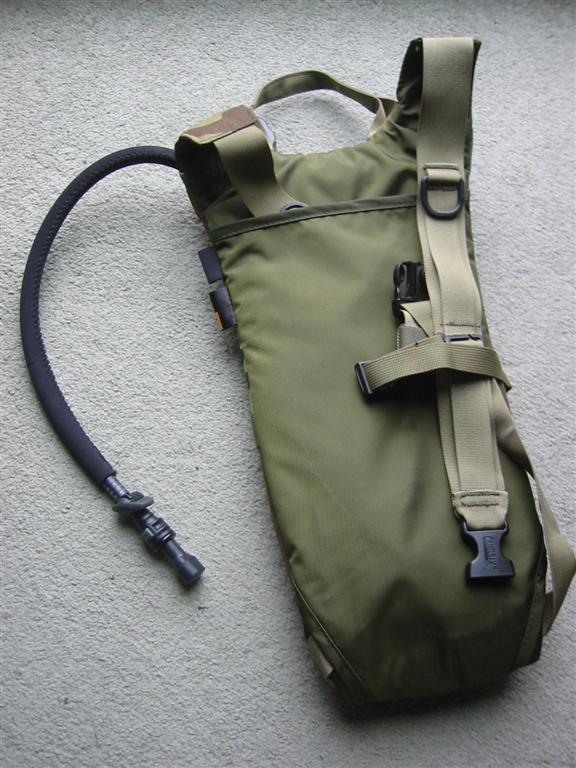
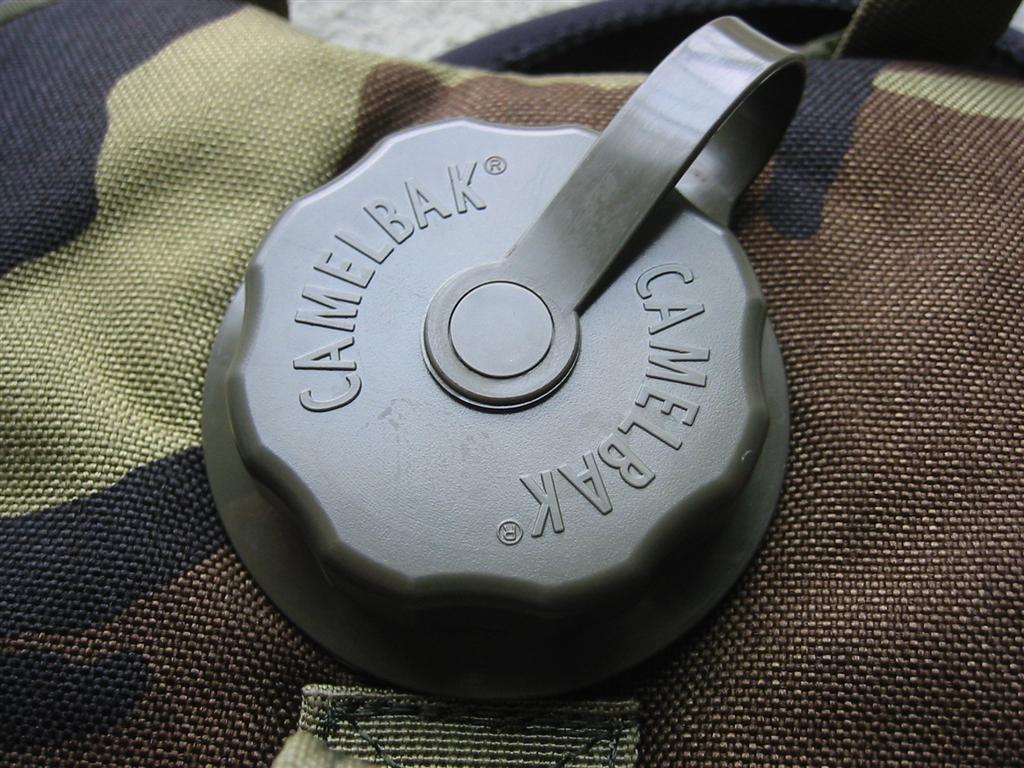
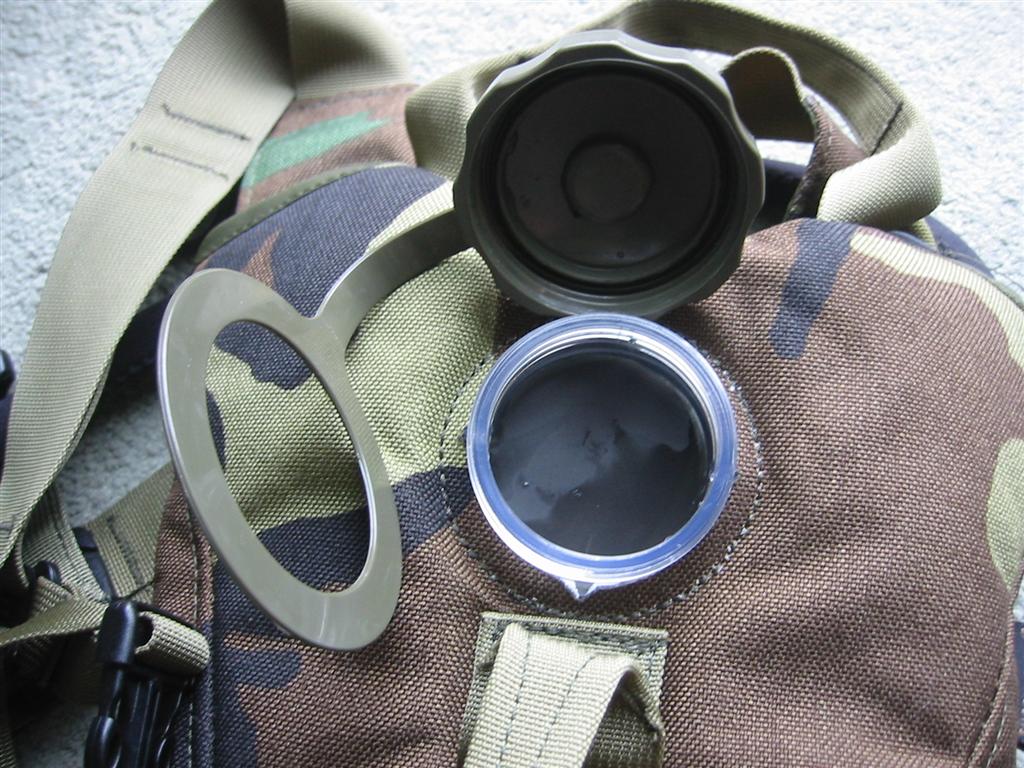
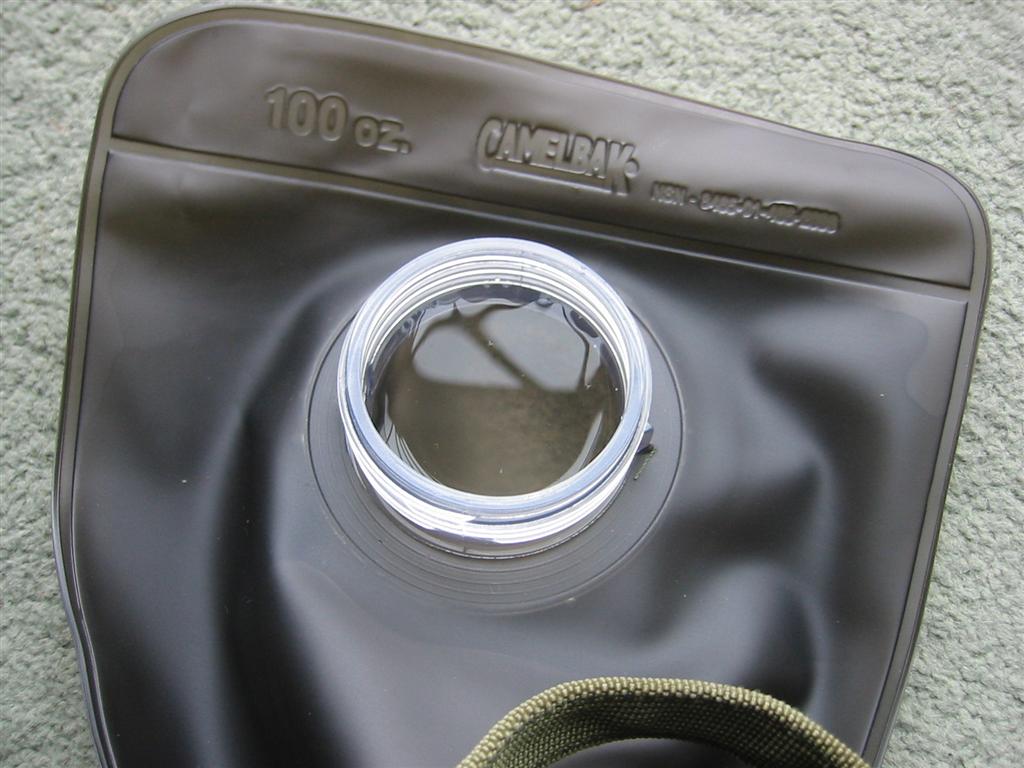
The fillcap is external which is somewhat of a change compared
to my other packs, and to be honest is a welcome change. Simply
undo the cap, hold by the middle strap and fill under a convenient
drinking water tap. The reservoir nicely fills the pack, spreading
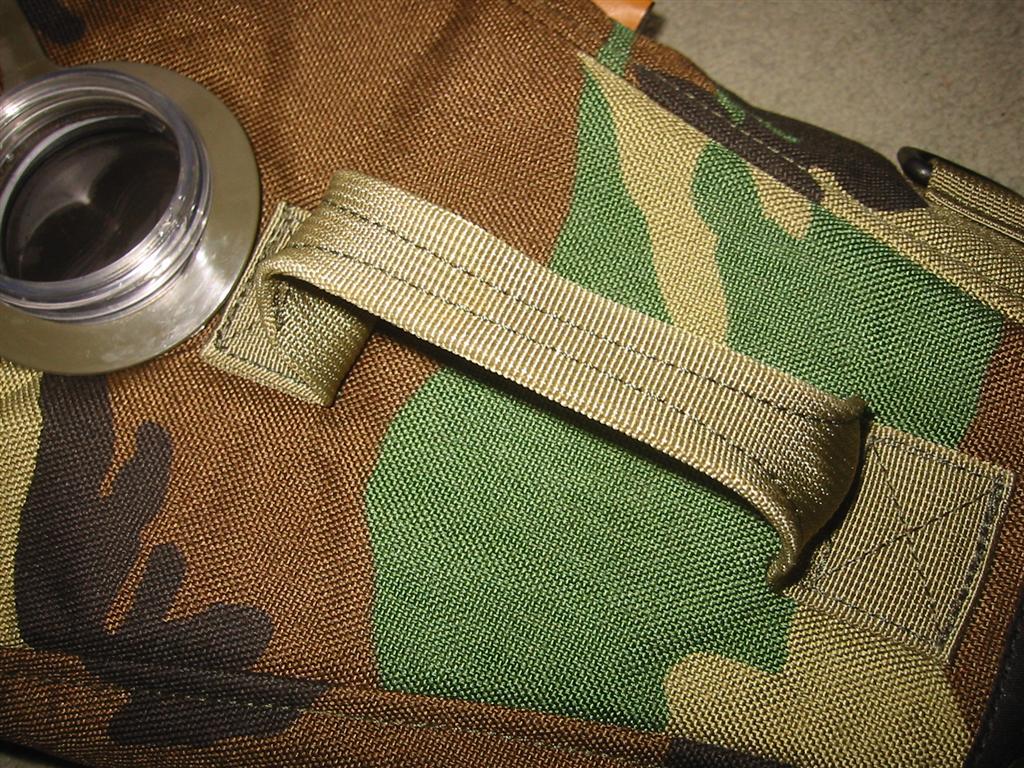
the material out as it goes, and the center carry handle really
does a fine job, as the pack is perfectly balanced while you
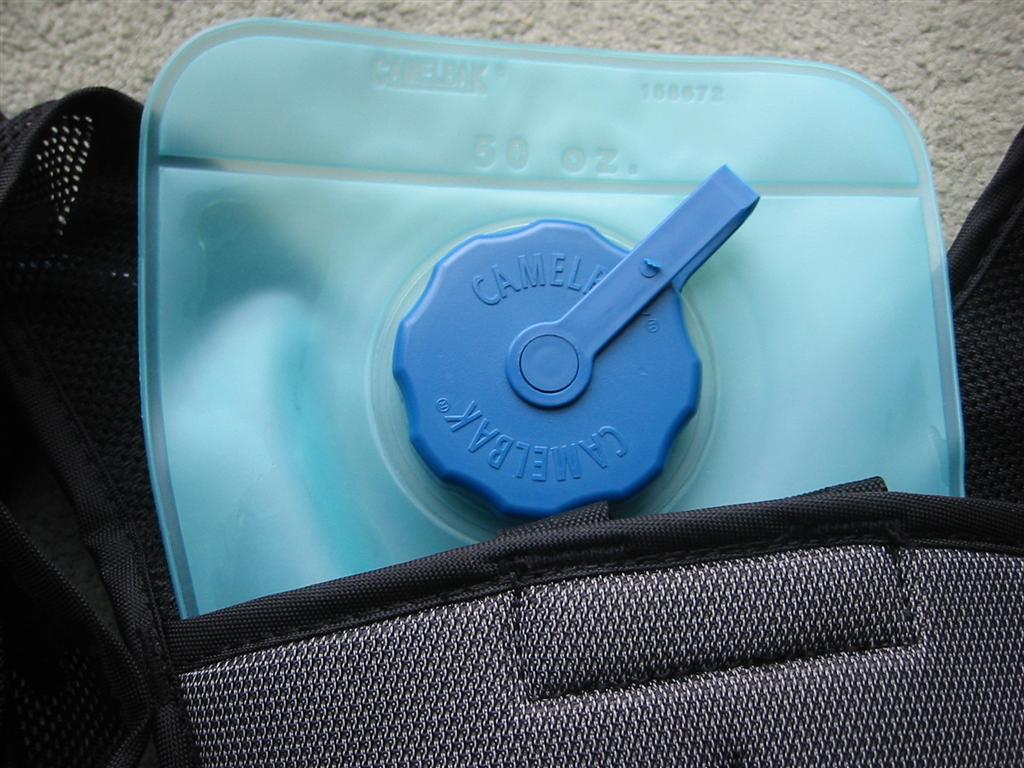
fill. There's little chance of you dropping it anyway. The HydroPak
of mine is conversely somewhat of a swine to fill and requires
a lot of practice to get the bladder out filled, and back into
the bag.
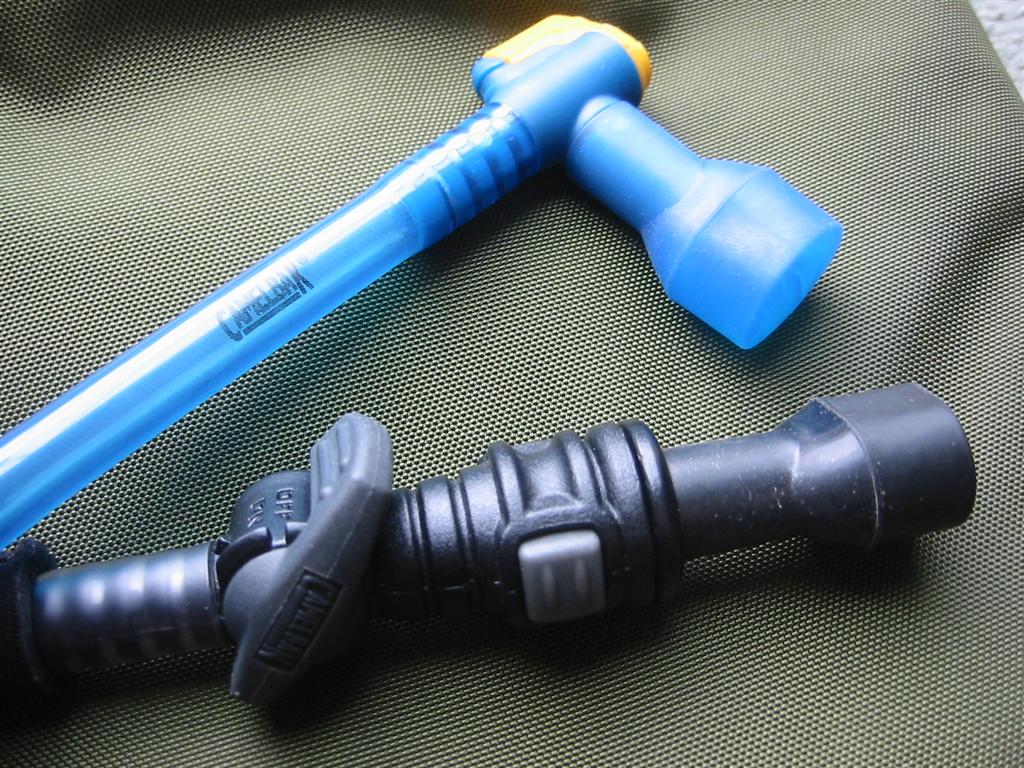
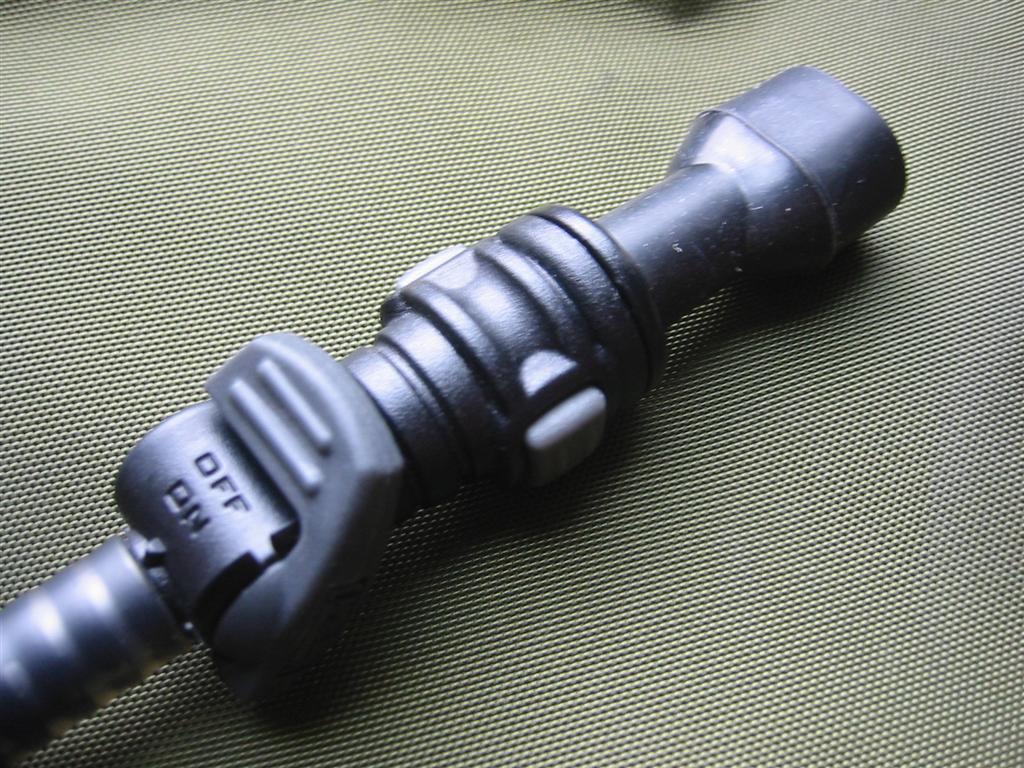
The bite down nozzle is much better than than of the civilian counterpart (from my other pack), although both have rather obvious advantages and disadvantages. The mil-spec nozzle is easier to operate with gloved hands, and being black is not as 'gawkey' as the civvie version.
The nozzle can also be removed to allow the hydration pack to be fitted to a gas mask or similar. The bite piece comes away at the first gap/ridge from the end. Beware though it's a tight fit, and not easy to separate, you'll need to press the two grey button either side and I'd recommend using a blunt but thin instrument of some kind to separate the two halves. The entire pipe system is covered in a thermally insulating black cover, this helps keep the pipe cool in the summer and warm in the winter.
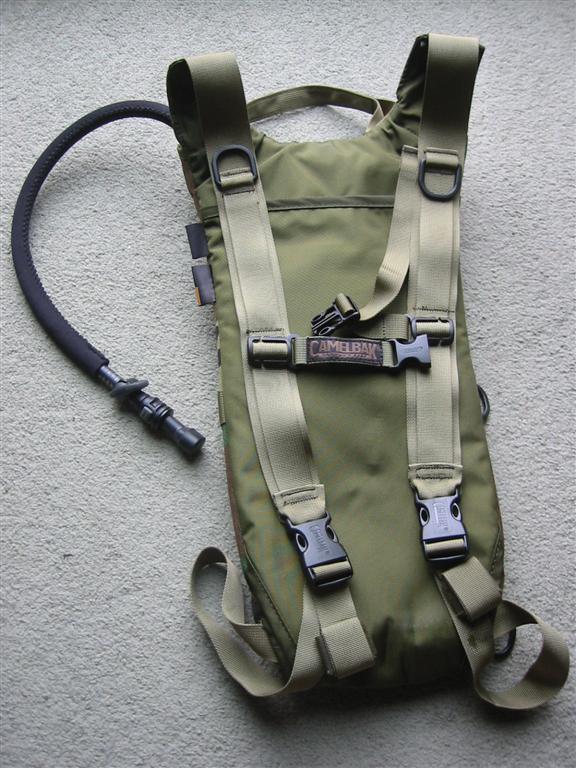
The chest strap can be adjusted both in width, and in height - as the entire strap system can be slid up or down the two vertical straps. This is ideal if you wish for the pack to fit over your webbing. Maintenance: Should you need to get the reservoir out of the pack, first you'll need to remove the fill cap cover. To remove the cap, unthread it from the inlet, and then carefully prise the plastic ring that holds the cap to the inlet over the threads.
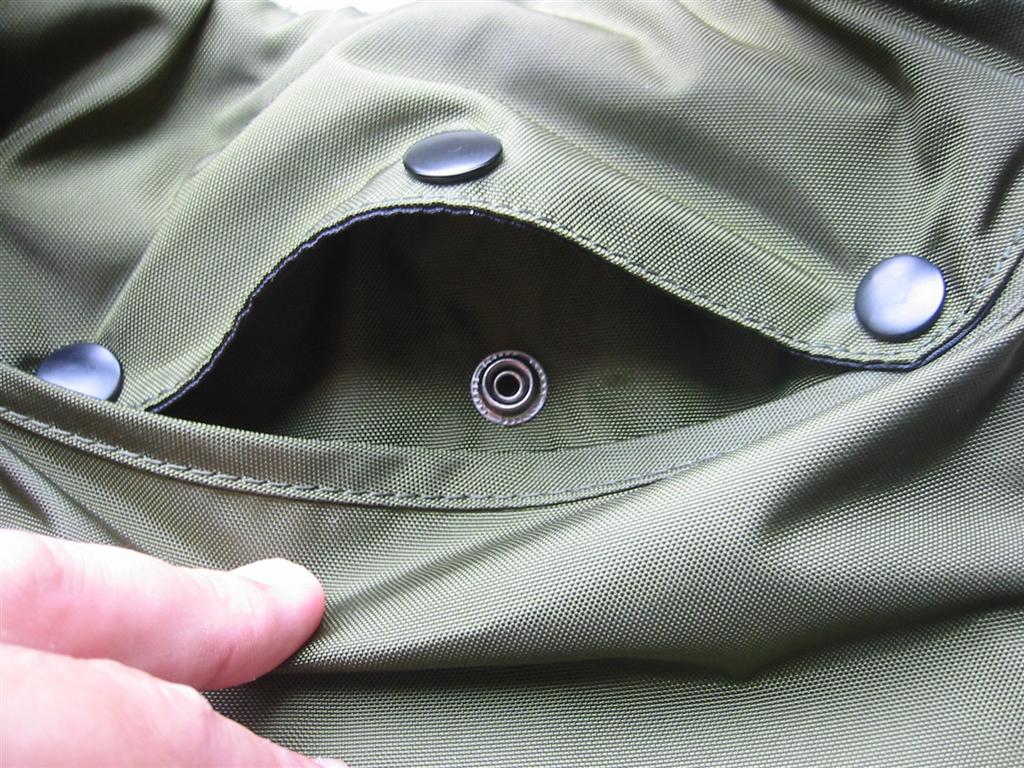
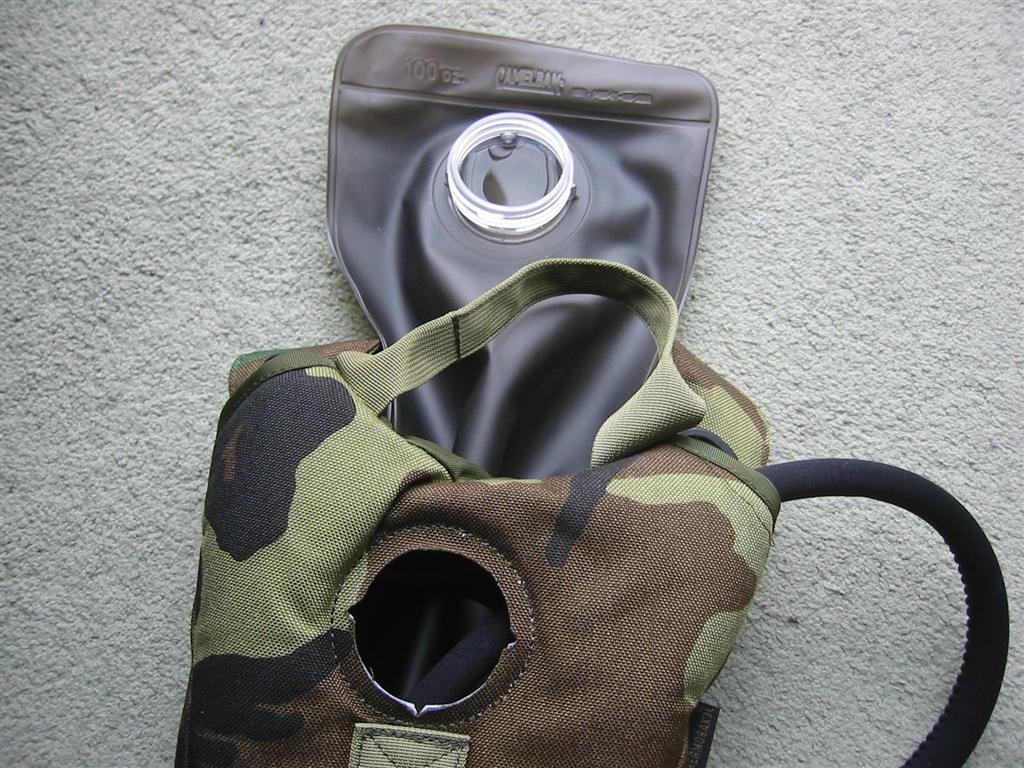
Now undo the poppers at the back of the pack and you'll see the reservoir itself. You'll need to push the clear plastic inlet out of the stiff Cordura holding it in place.
Once you've done that you can carefully remove the plastic bladder from the inside of the pack.
Conclusion: I use these products everyday, and I wouldn't go without one by choice. This simple ingenious design is incredibly versatile, and can go just about anywhere a human can. The bite valves will wear out after about 3 years reasonable use, but spares are actually fairly easy to get hold of. I actually found a whole load at my local outdoor shop. If you're out without a CamelBak on.. you're missing out. As for addons, the proper cleaning kit is a real must, the drying rack isn't quite so important. One other useful accessory is the bite valve cover. This keeps the bite valve nice and hygienic when you're crawling through goodness only knows what out at an event. Hmm I seem to remember that it was pine needles and copious quantities of sheep droppings last time.
External
Links: Site links: TBA Comment on this review in the forums Last modified: Wednesday, July 16, 2003 9:22 PM Copyright 2003 ArniesAirsoft
|