
cafemondo
-
Content Count
778 -
Joined
-
Last visited
Content Type
Profiles
Forums
Gallery
Blogs
Calendar
Everything posted by cafemondo
-
-
-
-
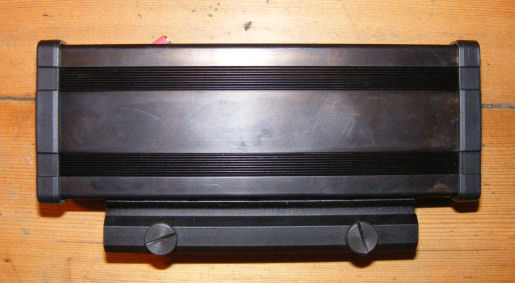
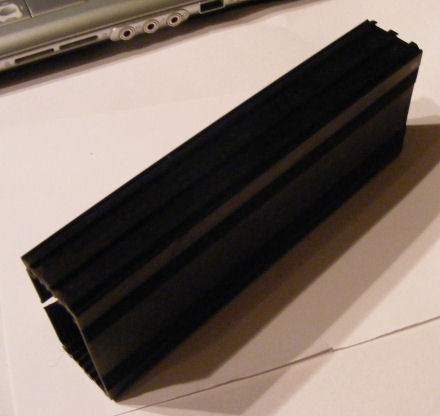
From the album: Aluminium anodising
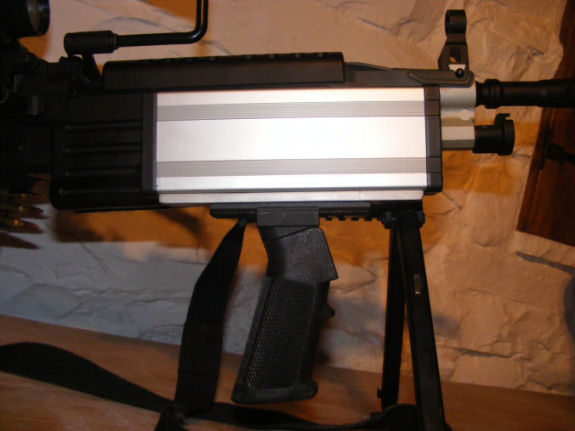
The idea was for a large external box capable of taking large batteries that would provide realistic rates of fire for a sustained duration. A prototype was made but needed some colouring, painting was thought about but anodising was suggested and implemented. Heres the semi completed box, minus weaver rail and top RIS rail, it has the bottom RIS and a quick release handgrip fitted.© © typren
-
-
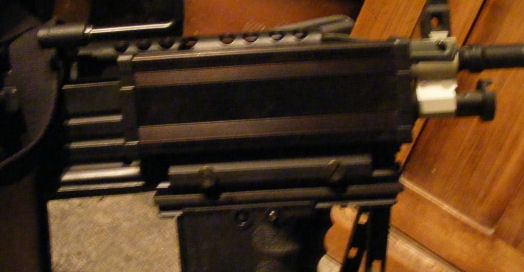
From the album: Aluminium anodising
And its now fitted and looking good IMHO. Solid tight fit, all rails and base in perfect alignment with the body etc.© © typren
-
From the album: Aluminium anodising
Looking good so far, the metal has absorbed the dye well and has a authentic gun metal appearance.© © typren
-
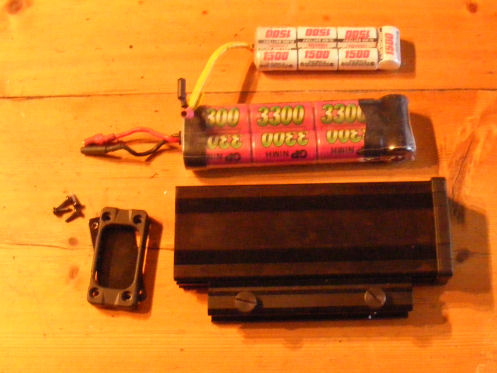
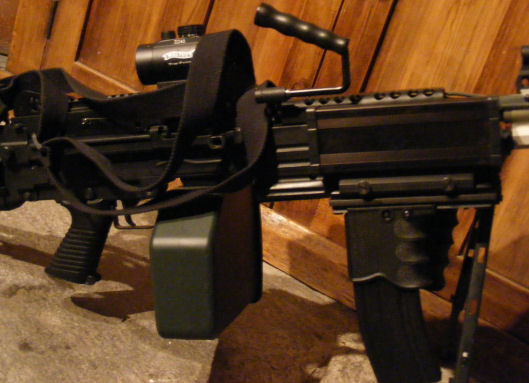
From the album: Aluminium anodising
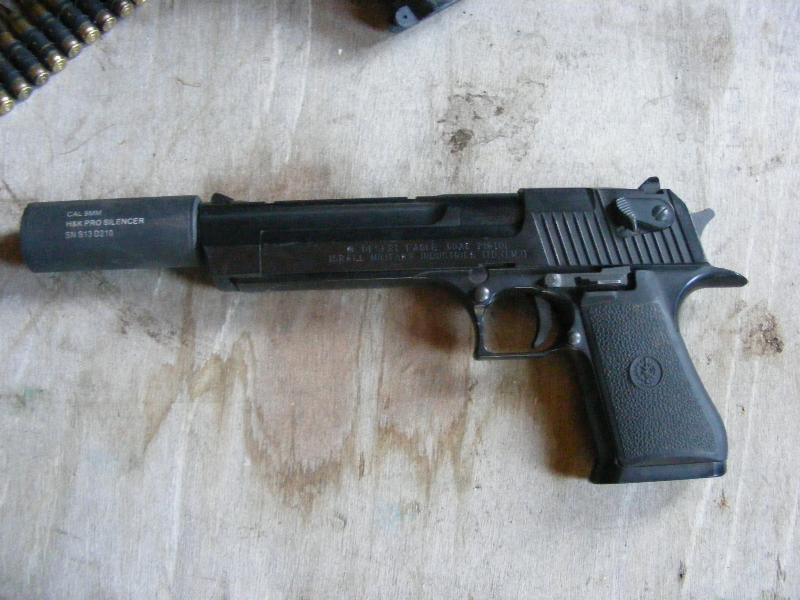
Time to put the end caps on, the bottom weaver attachment and slide that fat battery into place. Ive put a mini in for size comparison.© © typren
-
From the album: Aluminium anodising
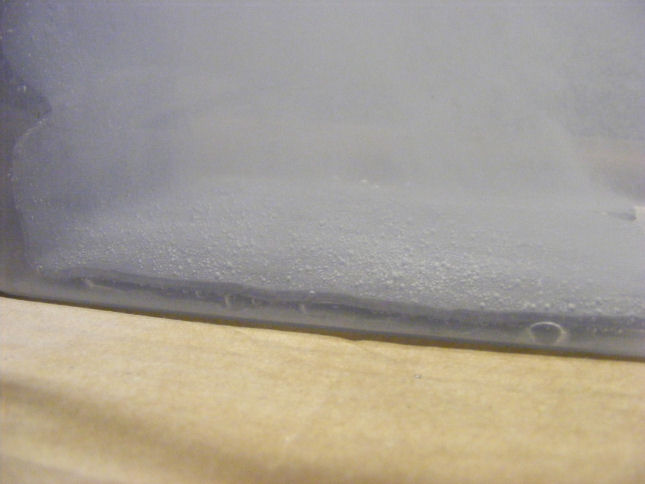
Remove from water, its very hot and will dry in no time, handle with a soft cloth and give it a gentle rub for 5 minutes. Ive not tried beeswax yet to give it a shine but will soon and report back.© © typren
-

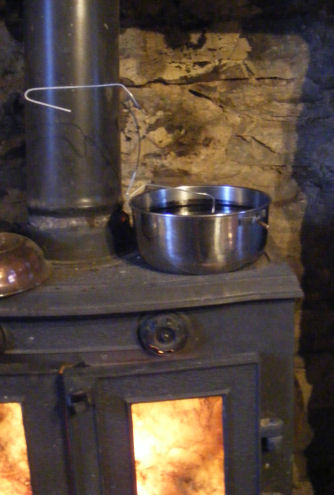
From the album: Aluminium anodising
Boil deionised water and hang the part in the steam for 5 minutes and then hard boil for a good 30-45 minutes, this will seal in the dye. Some colour will leach into the water.© © typren
-
-
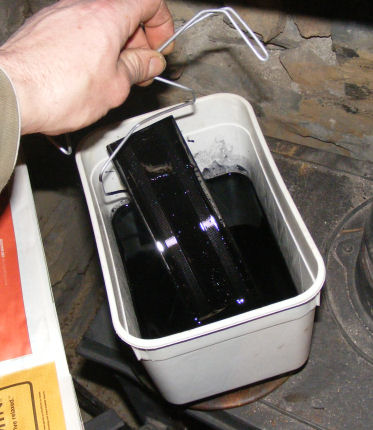
From the album: Aluminium anodising
Mix up Dylon cold water colour dye, 1 packet to 1 litre approximately. Warm to 45-50c and submerge workpiece in the tub for 20-30 minutes.© © typren
-
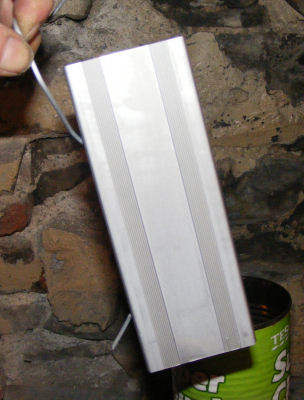
From the album: Aluminium anodising
Taken out of acid bath and rinsed well in deionised water. Its now anodised with a fresh new coat and could be just sealed for a silver finish, I want gun metal black so onto dyeing in part 8.© © typren
-
From the album: Aluminium anodising
A closeup of the lead bubbling away. Cant remember the science wurds.© © typren
-
From the album: Aluminium anodising
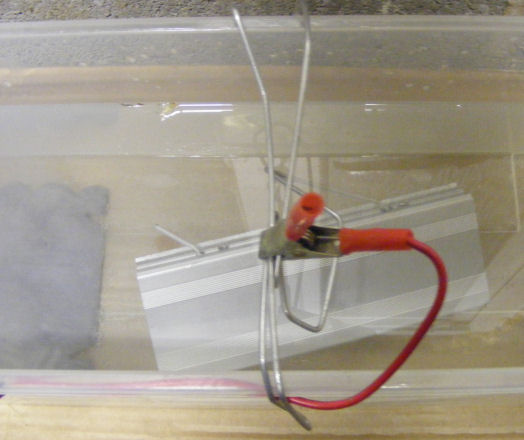
Just a pic of how its hanging in the tank. I let it sit in there for a good 2 hours.© © typren
-
From the album: Aluminium anodising
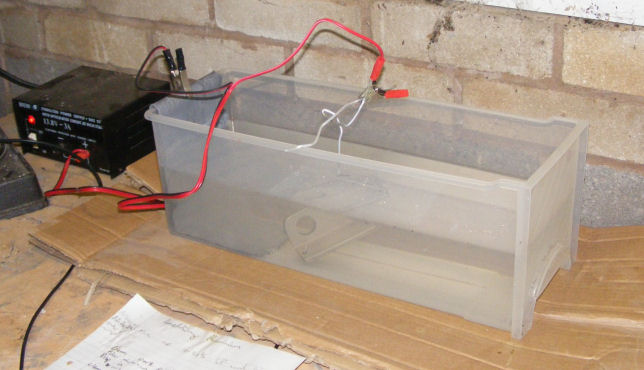
The heart of the operations. Plastic tank that used to hold cd's, a piece of lead of someones roof and a cb radio power supply. Tank has a 50/50 mix with 12% sulfuric acid to diluted water, sits on a reptile heat pad to get it to the right 20c temperature. Once in the tank do not mess with the aluminium wire holding the piece as this will affect conductivity. Turn on the power!© © typren
-
From the album: Aluminium anodising
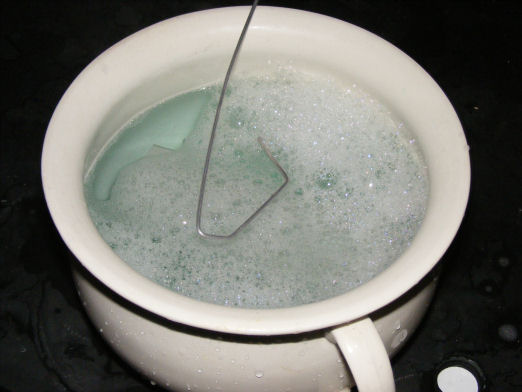
After causticing? the piece needs rinsing in diluted water then a hot soapy wash in a potty! to get rid of the other smuts. Wash with a soft cloth for 5minutes.© © typren
-
From the album: Aluminium anodising
I cleaned up the piece and put it in a plastic tub with a caustic solution, left it in for about 7-10 minutes until the shine had gone and it had turned a dull colour. Note - you shouldnt keep the sulfuric acid so close to the caustic.© © typren
-
From the album: Aluminium anodising
Stripped down to the bare aluminium, no other metals can be anodised using this process. Anodised Aluminium box profile, holes drilled and aluminium wire secured through both holes for good conductivity and security.© © typren
-
Is the front silver gasblock steel or aluminium, cant find a magnet at the moment.
-
From the album: Gnus
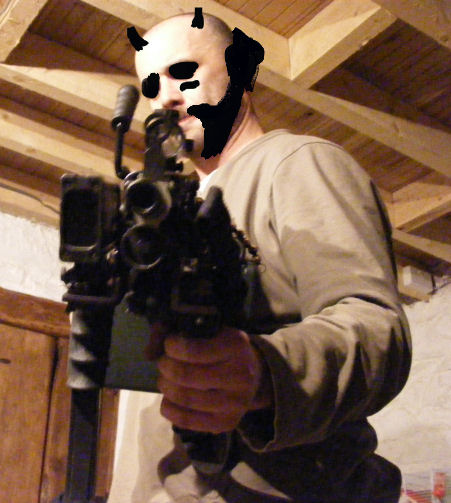
JG G36c AEG with Madbull AGX launcher (left side) Shortened the flashhider, removed the stock, added side RIS and longer bottom RIS. Internal Element upgrade.© © typren
-
-
Your ranger grip can be found here http://www.kastwayairsoft.com/g-p-jungle-s...grip-gp241.html no info on retailer, type in m249 ranger grip on google for more hits see my gallery for my solution to ranger grip sourcing http://www.arniesairsoft.co.uk/forums/inde...i&img=10444
-
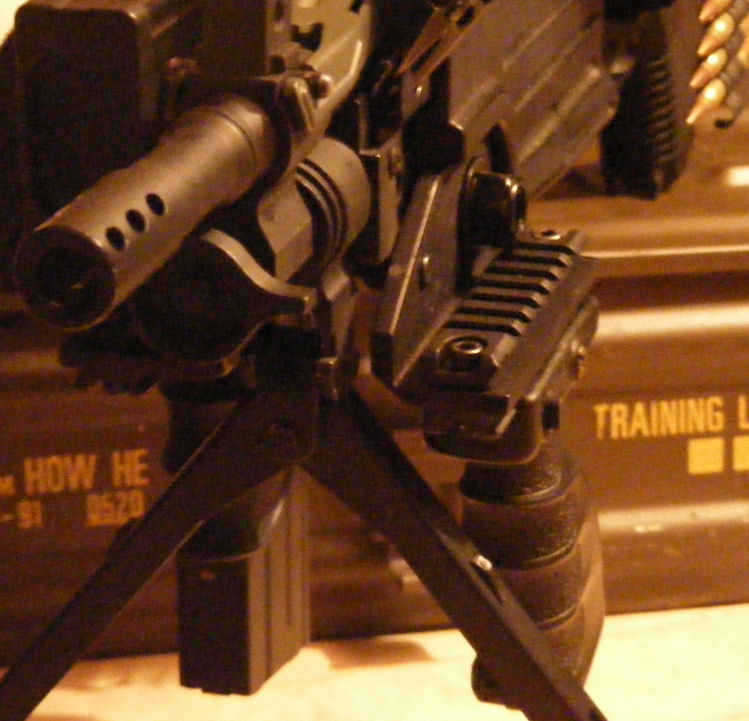
From the album: Gnus
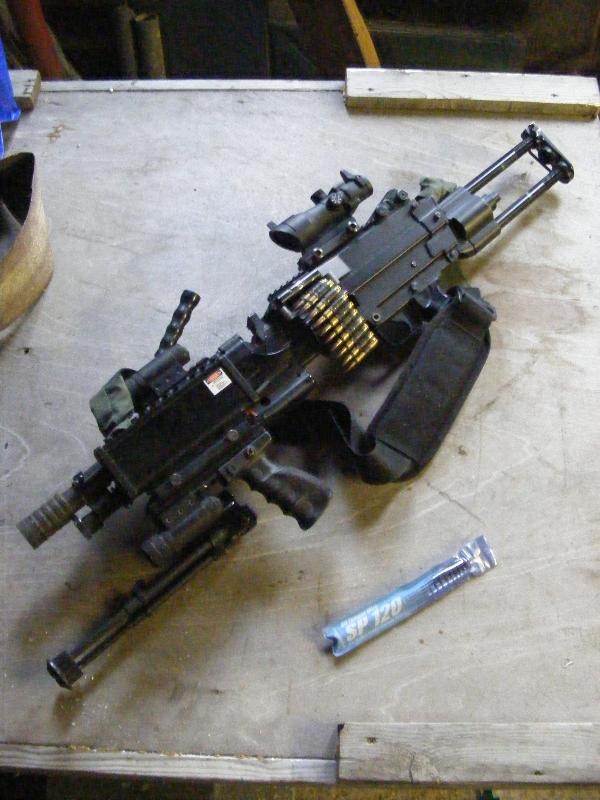
A totally unique and new weapon accessory mounting system for M249 series SAW. Mounts onto pintle hole and connects directly to body for even and solid distribution of weight by the operator. Solid aluminium 6mm platform holding two upper and lower 20mm RIS/RAS 110mm long. Lower capable of taking any RIS capable mounting handle or foregrip. Highly versatile mounting system capable of many applications for GPS, PEQ or lazer&torch attachments. Example has FAB ergonomic foregrip attached. Left side shown, see also B(right side)© © typren
-
SO I get to post twice ones a g3c with a grenade launcher the other a Madbull AGX grenade launcher with optional g36c, this is a picture of the right side