

dismemberd
-
Content Count
915 -
Joined
-
Last visited
Content Type
Profiles
Forums
Gallery
Blogs
Calendar
Posts posted by dismemberd
-
-
Hey.
Here's mine:
-
Never seen a Challenger 2 before?

ehh, dont think so, I know guns, but not tanks/helis/jets/etc
The barrel is rifled, it just looks straight as you can only see the last few inches; feel free to look up the exact number of grooves and # of degrees twist clockwise or anticlockwise etc.Rifled for accuracy, unlike the American Abrahms tank that has a smooth bore, and fires its shells.. 'somewhere over there'....


Many thanks
-
Probably a dumb question, but is the cannon rifled? If so, why does it look straight? If not, what is it, and why isnt it rifled?
Edit: took out quoted pic
-
Thought I may as well to the cat photos, here's Ava when she younger...
http://photos.monkeytrouble.net/albums/pet...t_100.sized.jpg
wooooowowow thats a pretty catty
[/jealous]
Only been at college 3 days and miss my Misty already

Edit: Forgot to not quote images
-
-
Flashpoint Division's Newest member. She's our top secret undercover operative 8D
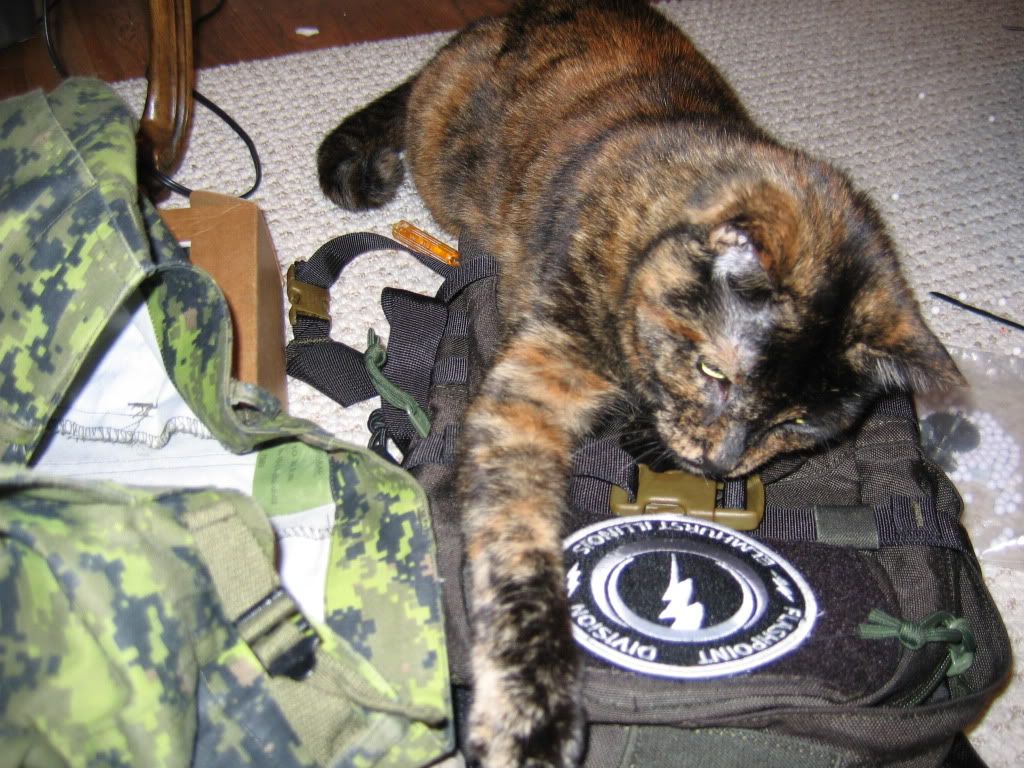
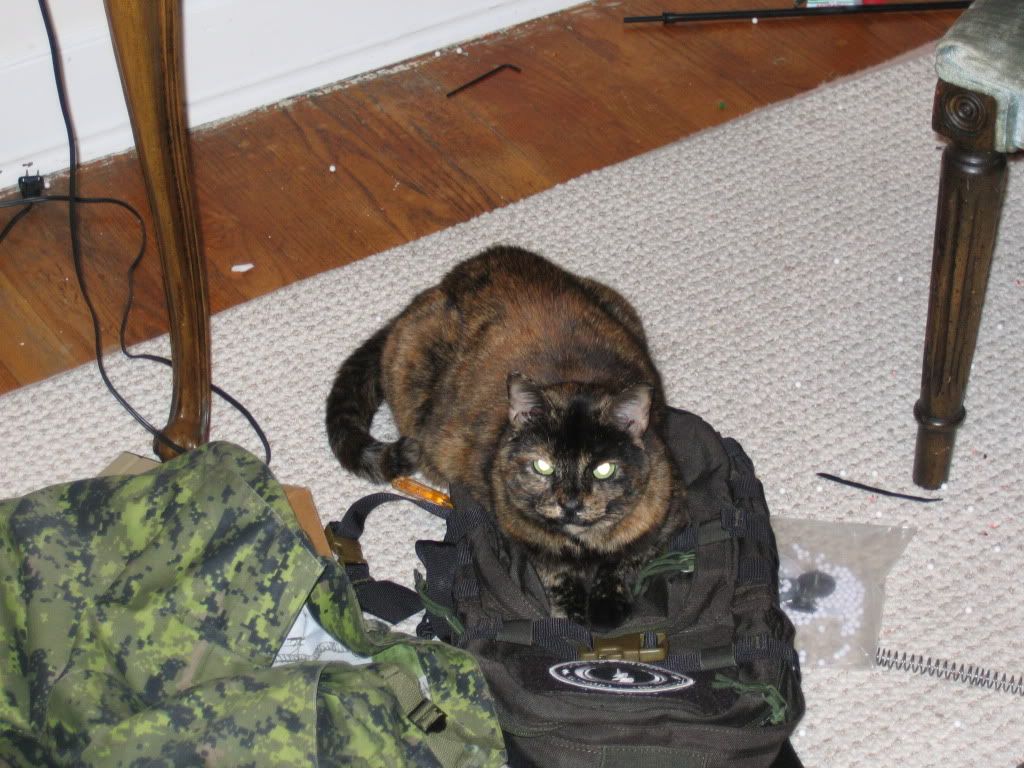
She's been trained to hide her identity as well, and knows how to avoid cameras XD:
-
You're lefty? Gah, lol, even looking at it makes me uncomfortable

-
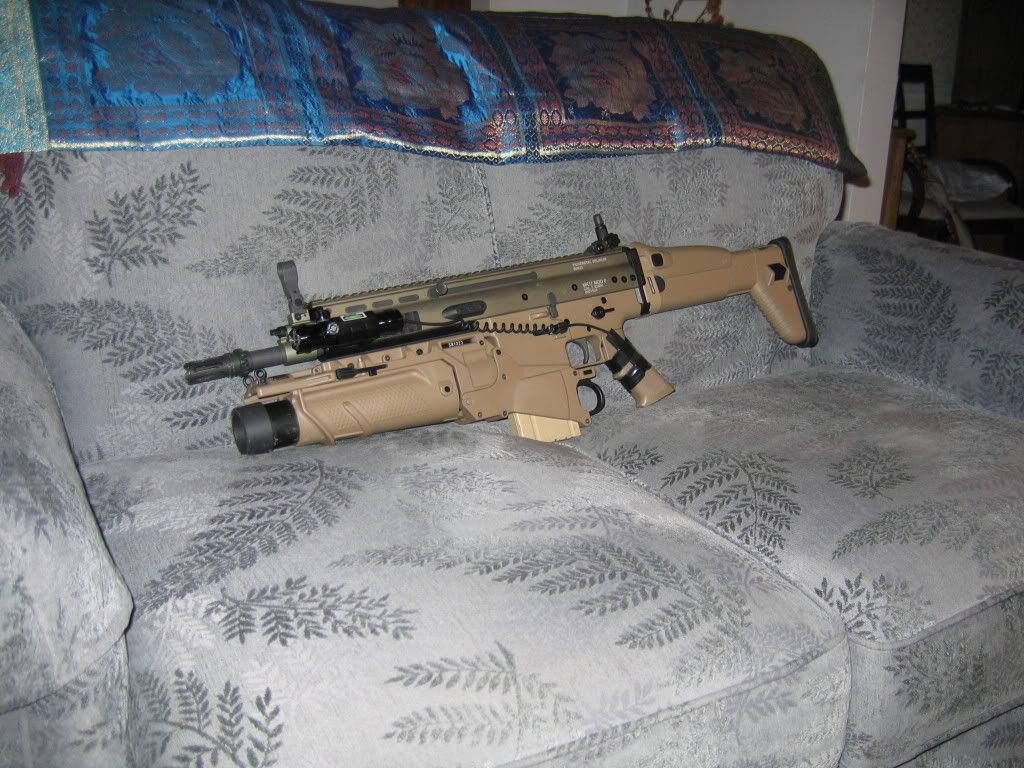
Nice one. Assuming it's a STAR-H? How much does the EGLM weigh? I'm looking into getting one, but don't want my gun to get to heavy.
It's a STAR, and it's H. The EGLM is pretty weighted for a grenade launcher, I'd estimate it at about 7-8 lbs. The problem is not so much the weight of the gun, it's more the balance. If you split it at the handle, you can see that behind it, there's the very lightweight plastic stock, which houses a small, lightweight battery(I use a li-po, adds virtually no weight), and in front of the handle you have the upper receiver, gearbox, ris, grenade launcher, etc. So it all adds up and makes it very front heavy. In spite of that, it's still actually a pretty comfortable gun. I can shoulder it reasonably easy, and run with it for some time, and I am not built heavy in any sense of the words. It's not like lugging around a giant hunk of lead, but it's beefy as hell. If you don't want your gun too heavy, its not unreasonable difficult to use, but definitely not lightweight.
Lookin' sharp, dismemberd!But I have always wondered: What make of standard capacity magazines fit the SCAR-H? I've only seen the 180rds and the 500rds mags, but I want something with fewer rounds. Is the 180rds mag a high-cap, or is it spring loaded?
Thanks for the comments. As far as I know, it takes TM style M14 mags, but I have only used STAR brand 180 rds. It does NOT fit G&G style mags. The 180 round mags are spring fed midcaps. If you wanted to use the 180 rd mags with less rounds, Im not sure how well that would work, because they aren't the most consistent when it comes to feeding, especially towards the bottom of the mag.
-
I've changed it up a bit since before
-
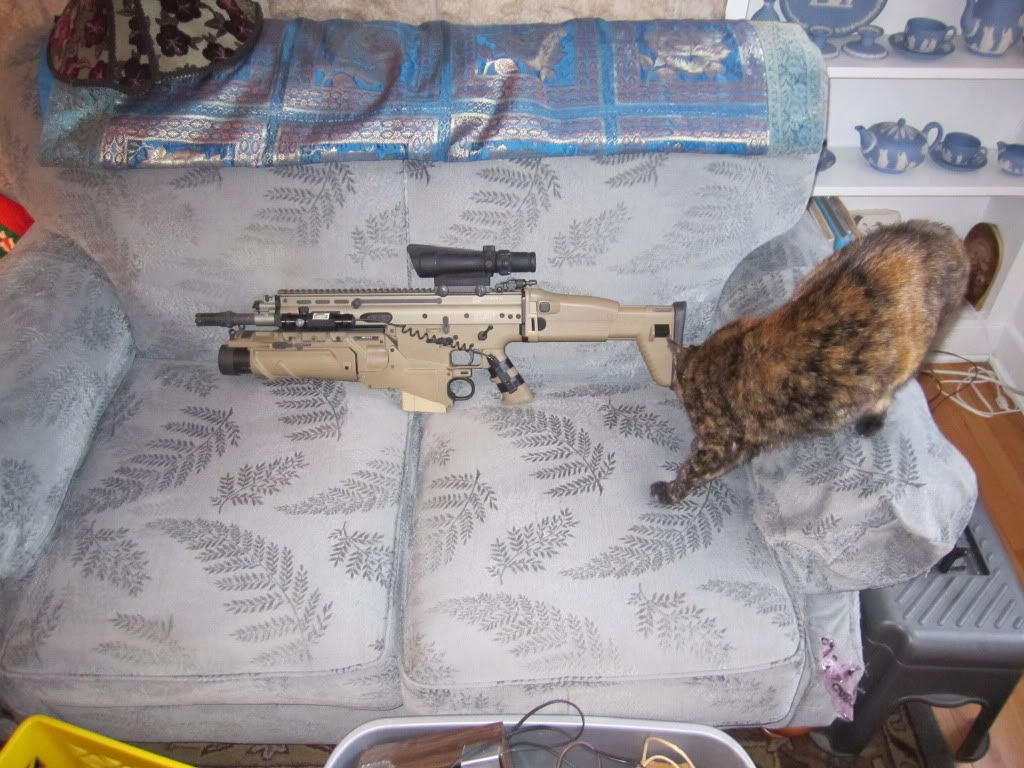
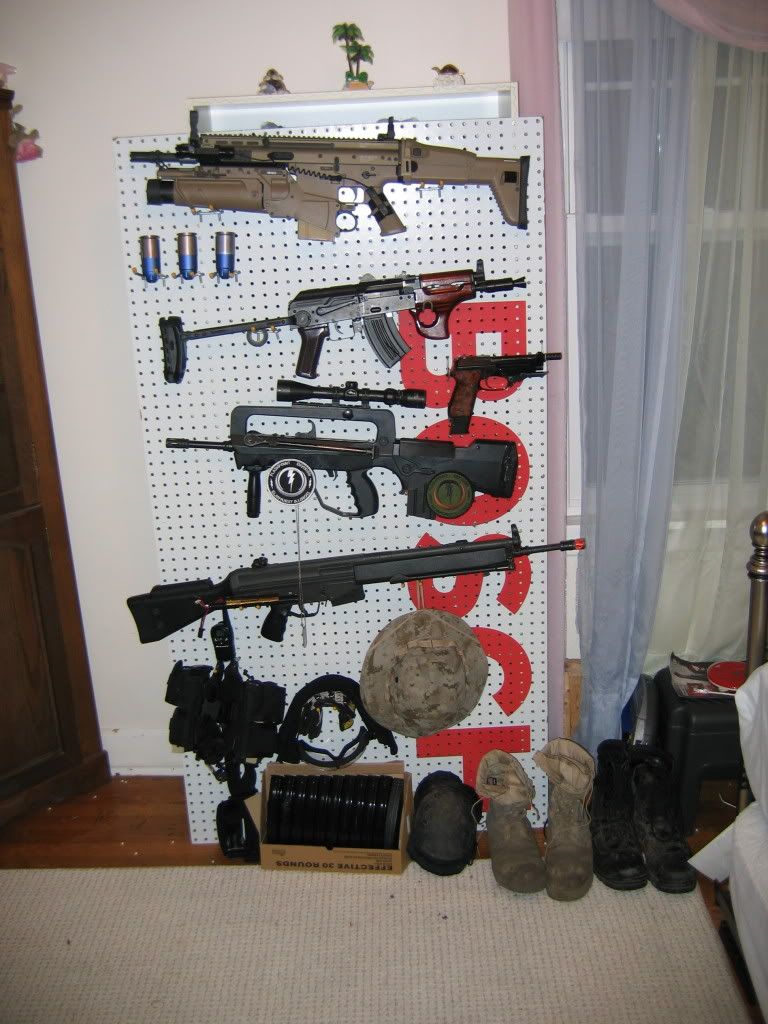
Here's my baby, Im thinking it really needs some optics, but I'm not sure if Im willing to shell out the cash
-
It's completely ambidextrous.
-
Not mine, but I laughed so hard:

-
Well, what do you mean by not responding? Can you feel the movable(sp? that's supposed to be the ability to move) contact snapping back into place? Or, is it moving forward but not far enough? Or, is it moving as far forward as it needs to be, but making a bad connection.
I would say it's either a bad connection, like dliberty said, which you would mean there's either corrosion, or both of the non-movable tabs aren't touching. Open your gearbox, and look for corrosion on all 3 contacts, and then slide the contacts together, and make sure that the non-movable ones are BOTH touching the movable when it is extended. If it's not a bad contact, then it may have to do with the trigger position. When you have the mechbox outside the gun, and pull the trigger bar, you are pulling it as far forward as it goes, but when you put it inside, the trigger only goes so far before it stops. You can adjust the position by either twisting the mechbox trigger bar, which is threaded to the piece that pulls the trigger contact forward. You can either extend the bar, so the trigger doesn't pull the contacts as far forward, or you can decrease the length so that the trigger pulls the contacts farther forward. From what it seems, if this is the problem, you would want to twist the bar in more, so the trigger is pulling the contacts forward. Also make sure that your entire trigger unit is set where it's supposed to be. I don't think the trigger is really made to be adjusted though, I think it should be set so that when the mechbox is in the gun, when you attach the plastic piece to connect the 2 trigger bars, it should be at the same length as the plastic piece(if that makes sense to you)
-
-
I did it the other way too, now im not sure which i perfer lol
http://i96.photobucket.com/albums/l193/msx...02082008488.jpg
http://i96.photobucket.com/albums/l193/msx...02082008490.jpg
Yeah i know im missing a screw, but thats because it keeps falling out and i dont want to lose it or glue it in.
Wow, those both look really great.
-
The pics are MUCH clearer. I see now, it's more complicated then I thought. Very interesting too, and original as well.
Is there actually zoom on that scope, or is it just an RDS?
-
Just the gun alone doesn't look that good IMHO, but when you're actually holding it, it looks really good.
Where is your battery? I'm interested to see some more pics. Can you get some that aren't as blurry? Also, is that a face on your stock? Looks like you could move the launcher back a little bit if you removed the back barrel mount. If I was you, I would put it as close to the trigger as possible, move your RDS forward, and you'd have a really great piece.
-
I just ordered my FAMAS, I'll post pics of it on wedensday. I cant wait lol! And Dismembered, my father does wiring for electronics and houses, if you haven't fixed it by the next time I talk to him ill ask him for some info.
Thanks for the offer, but I was able to get everything worked out.
They were out of 16 AWG wiring, so I got some 14 instead. I was hoping I would be able to get the wiring through the gun, without having to completely disassemble it, but it wasn't happening, so here it is, after re wiring it through the gun:
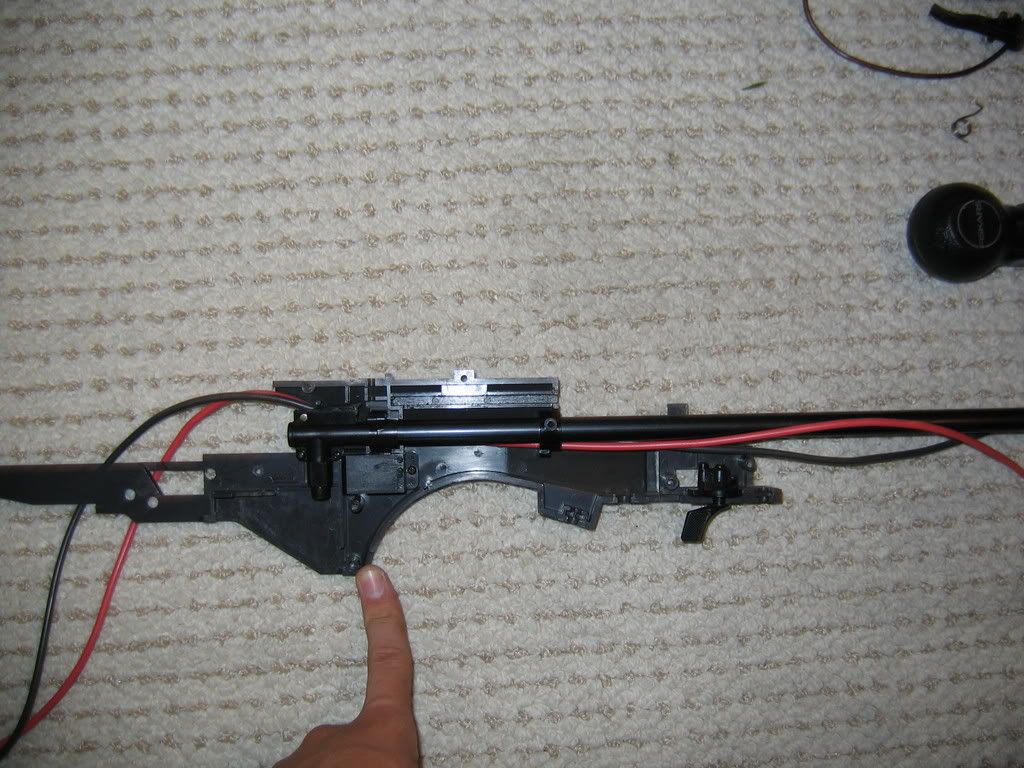
Tearing it down gave me a chance to re-install the tightbore barrel I had previously taken out, and put in my G3, so hopefully that will give it a little more performance as well.
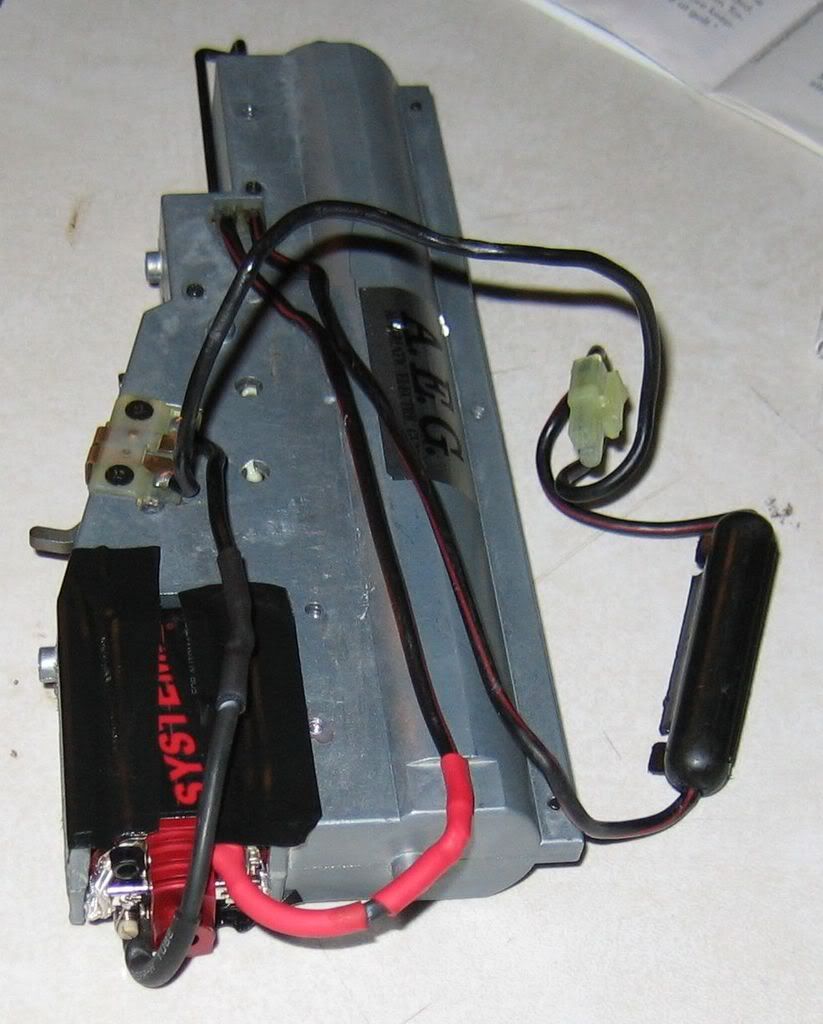
It was just a tad tight, at the point where the wiring goes under the hop-up, but other then that, everything fit pretty well. Here's a pic of the completed back end of the gun:
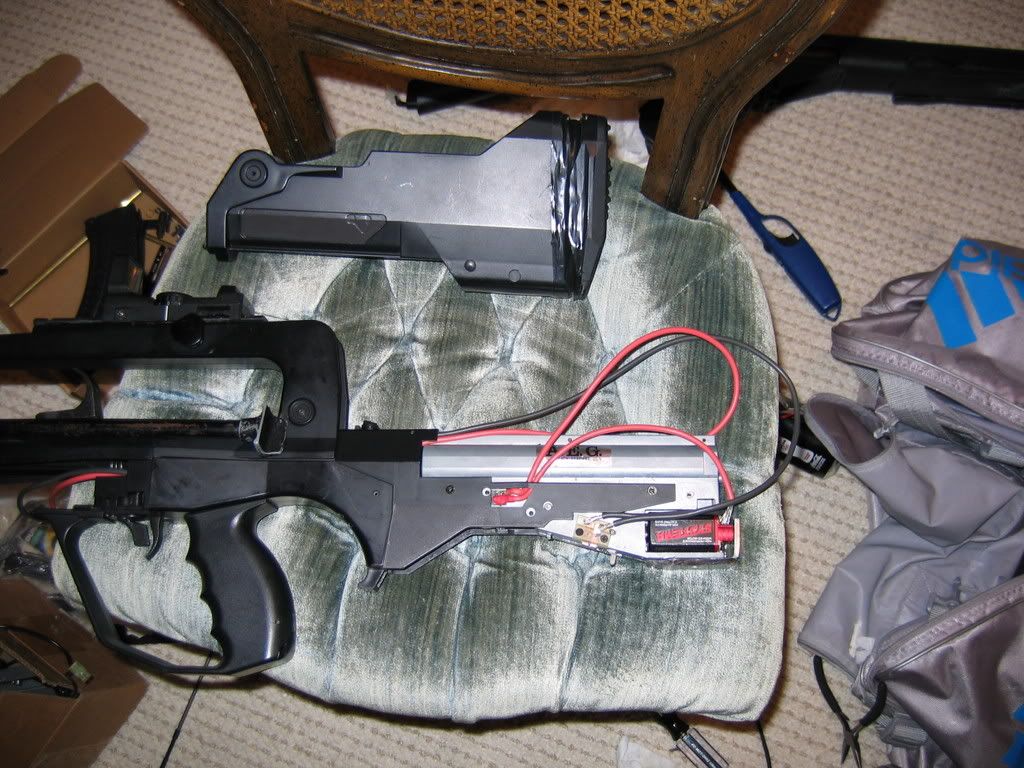
No fuse, no mini connector, and I feel that after learning a bit about soldering, and getting some better solder, my new ones are much better then they were before, and much fewer too. I've also got deans connectors on as well. Since that picture I have covered up most of the exposed wire, and also moved more to the front, so there isn't that big loop of excess wire in the back, and also give the battery area more lee-way(how do you spell that?). I'm not quite finished, there's still a couple things I need to work out(like getting a the right battery. I think I'm gonna test out those 5,000 mAh batteries they have at cheapbatterypacks.com), but from the initial looks of it, it seems to have worked very well.
-
Thanks a ton for the positive encouragement. The 2 day game was an unbelievable amount of fun, despite the fact that my fire selector now has a bit of a gap, and isn't making a good connection, so full auto came and went. The RoF isn't anything amazing, but there is a definite improvement, and it sounds much smoother, and nicer.
Here is a pic of the final product, in the gun:

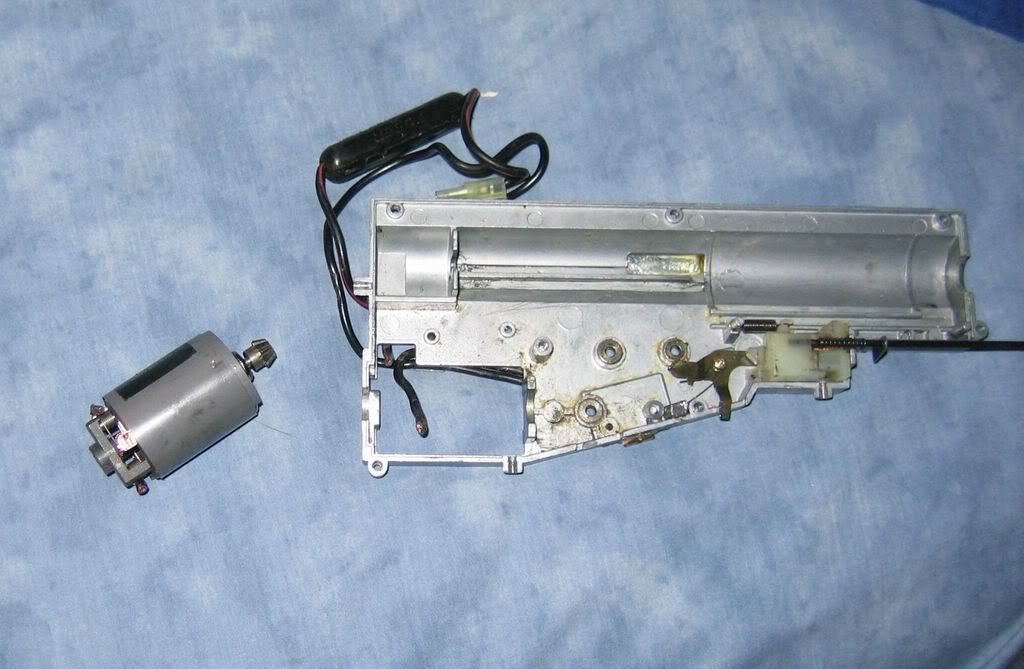
As you can see, there is a ton of soldering. Three solders for each wire to the motor. I really don't know much about wiring, but I imagine that is creating at least a significant amount of resistance. I plan on buying some better wiring, and maybe trying to create some sort of low resistance set up, by taking out, or re doing the 2 tamiya connectors, and by only having one piece of wire per motor terminal, instead of having 2 pieces spliced together. If anyone knows a lot about electrical, and wiring can you give me some tips on how to attach the wires to the motor terminals? The solder wouldn't stick.
Here's some pics of me gear'd up with my baby at the event:
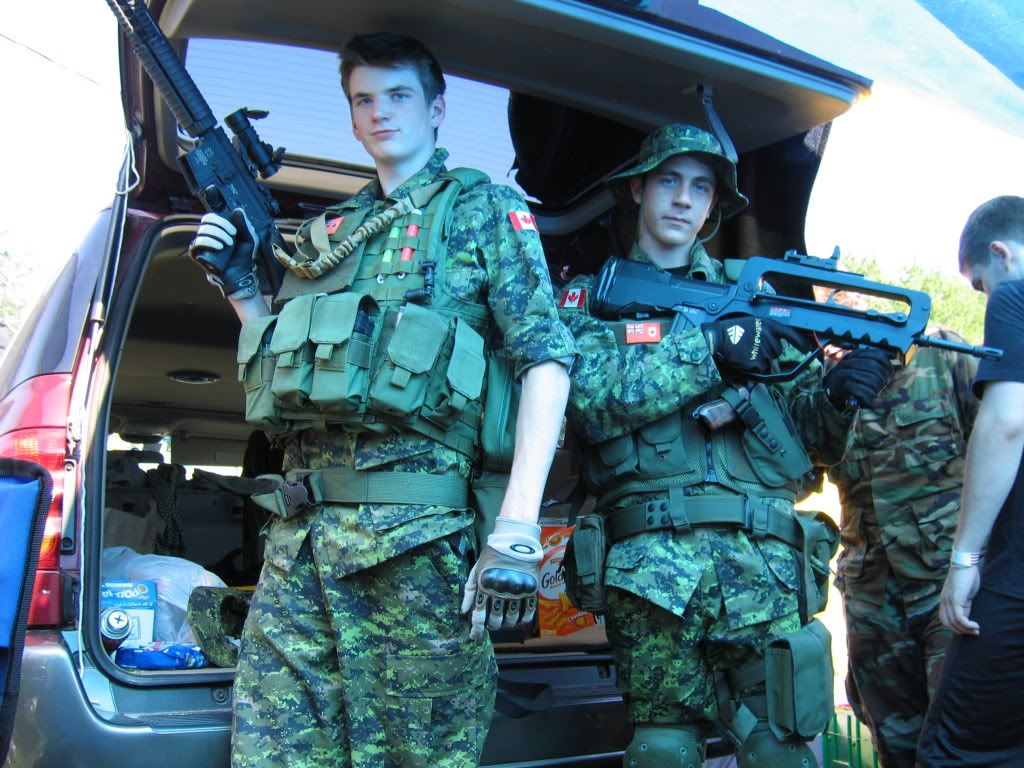
gnomerty on the left, me on the right
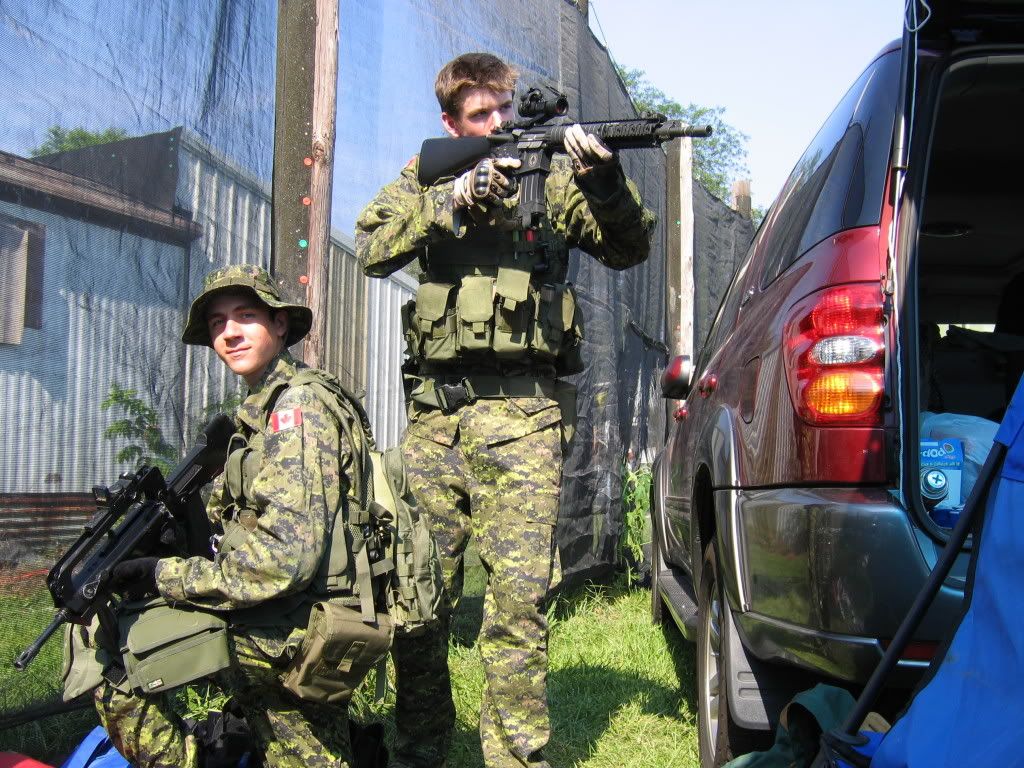
Me on the left, gnomerty on the right
-
So far I have machined a short barrel adapter.
You made that yourself? Would you be willing to make more? Can you make one with 14mm CCW threads? I've just been thinking about this myself. I made this, tell me what you guys think:

It's a bit overdone right now, I wouldn't use that scope, and probably not that front handle, but I like the front end a lot.
The main reason I'm posting though is because I just finished installing a new magnum motor in my FAMAS. Took a bit longer then I thought it would, but I didn't really think much about how long it would take. It's not professional in any sense of the word, very amateur, but I had lots of fun making it, and surprisingly it works. Anyways, on to the pics...
First, remove the EG560:
Second, remove EG560 mount:
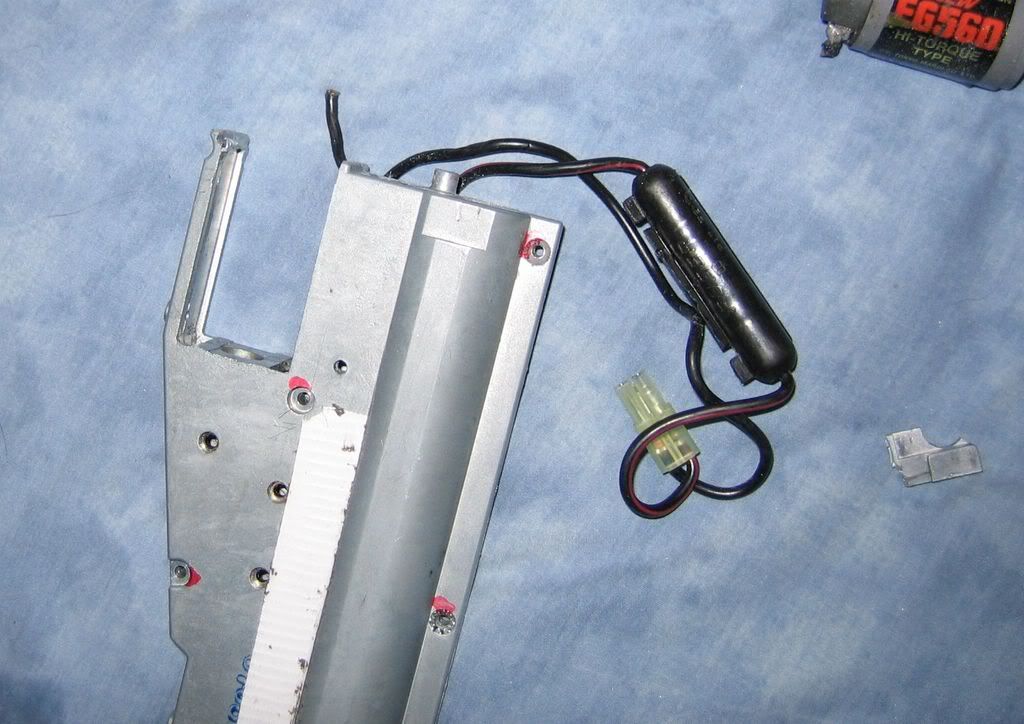
Third, mark the new mount:

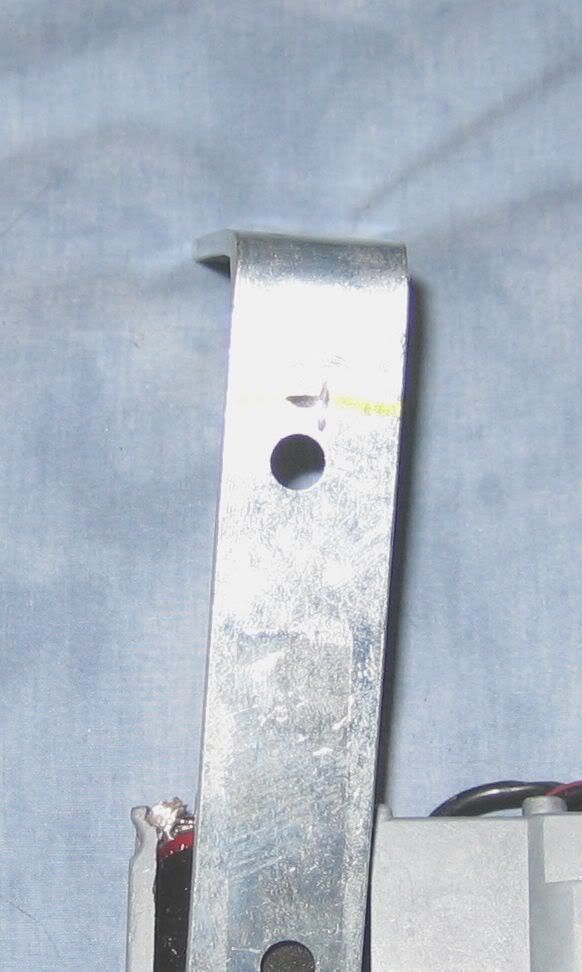
Fourth, form the mount:
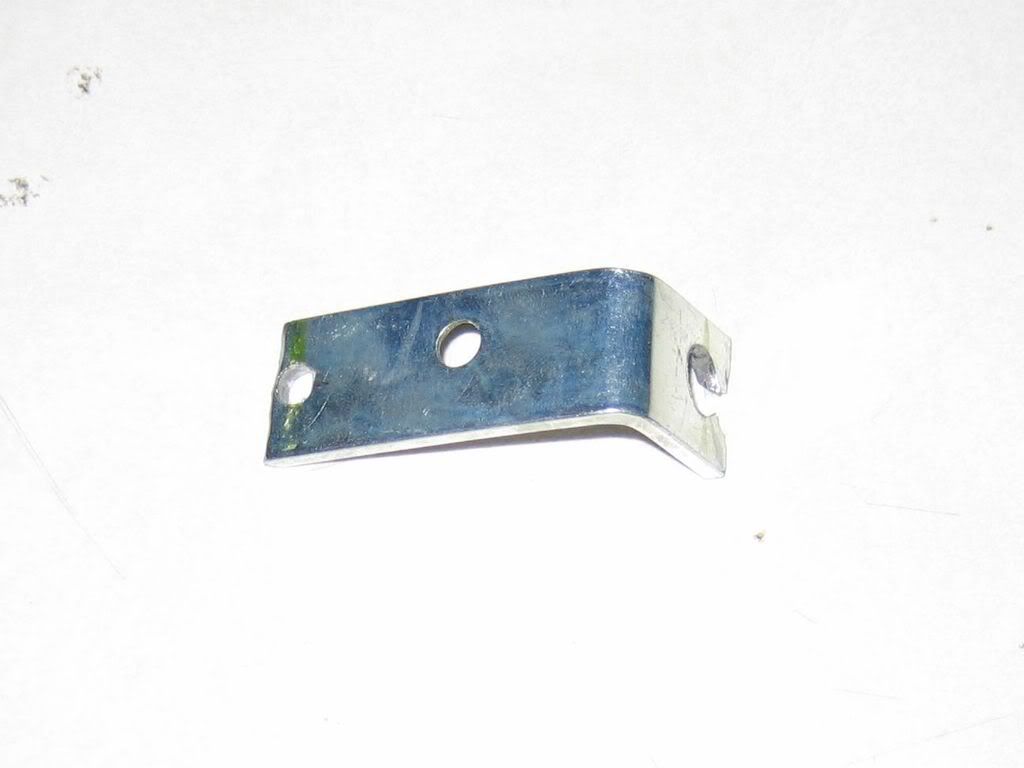
Fifth, fit the new mount:
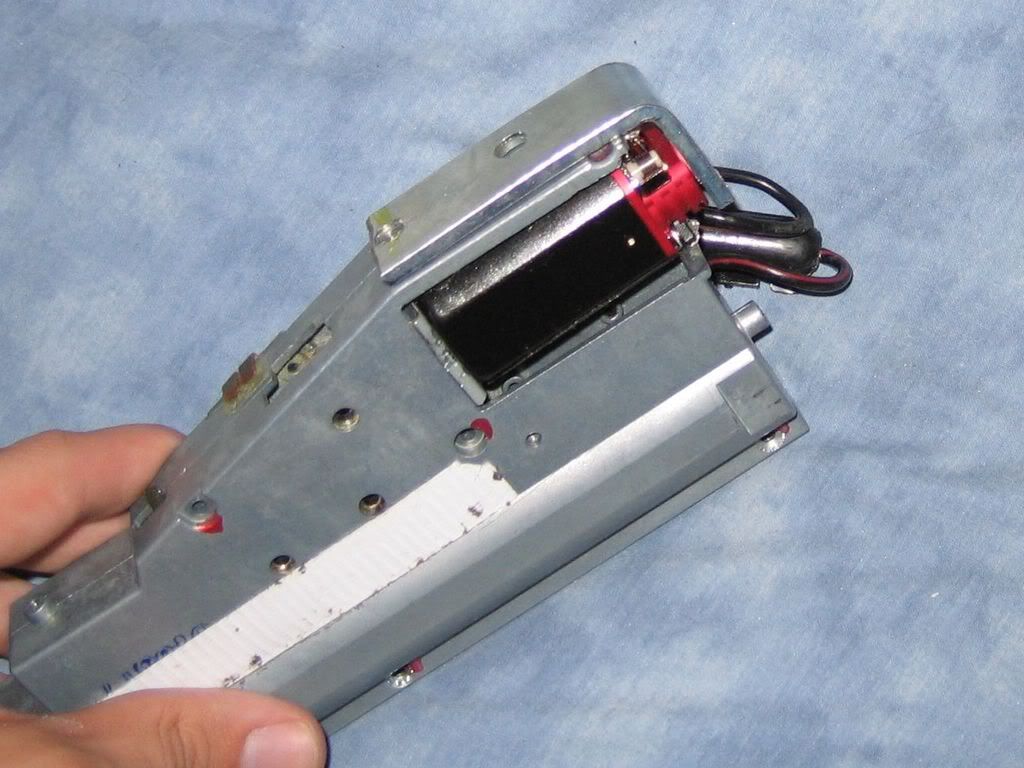
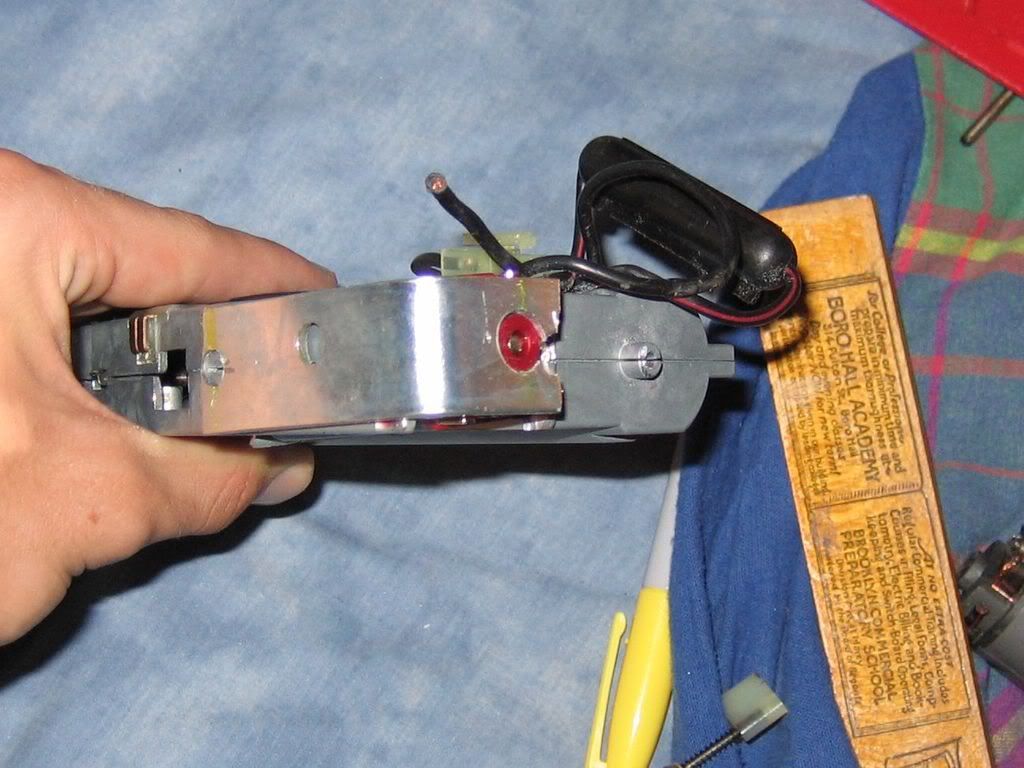
Sixth, solder in the new motor(this is what really took a long time, and was difficult, when I cut out the EG560 the wires weren't long enough for the magnum):
All just in time for a big 2 day game tomorrow. The only problem I've had(other than soldering) is that the but pad no longer fits. I'll figure out a better solution later, but for now, it's about 1/2 inch back, and I've glued it, and Im gonna just cover the gap with tape.
Oh, and I almost forgot dliberty(you thought you could get away with posting a pic, and no one would comment on your background?) we've got that same table on our back porch.
-
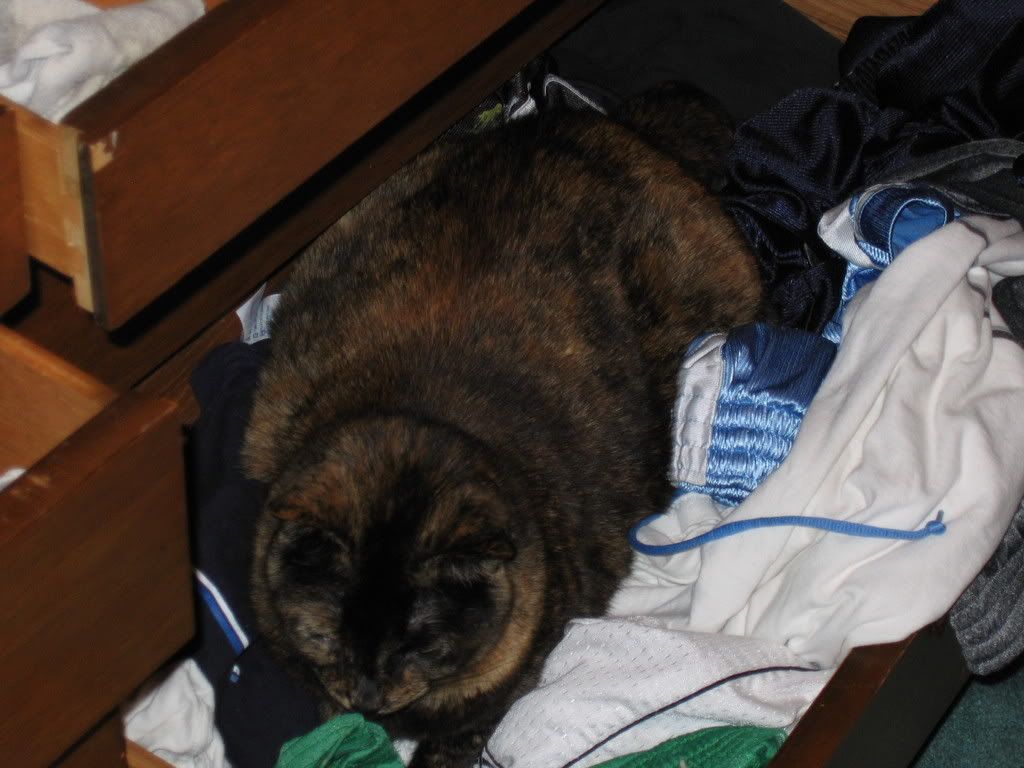
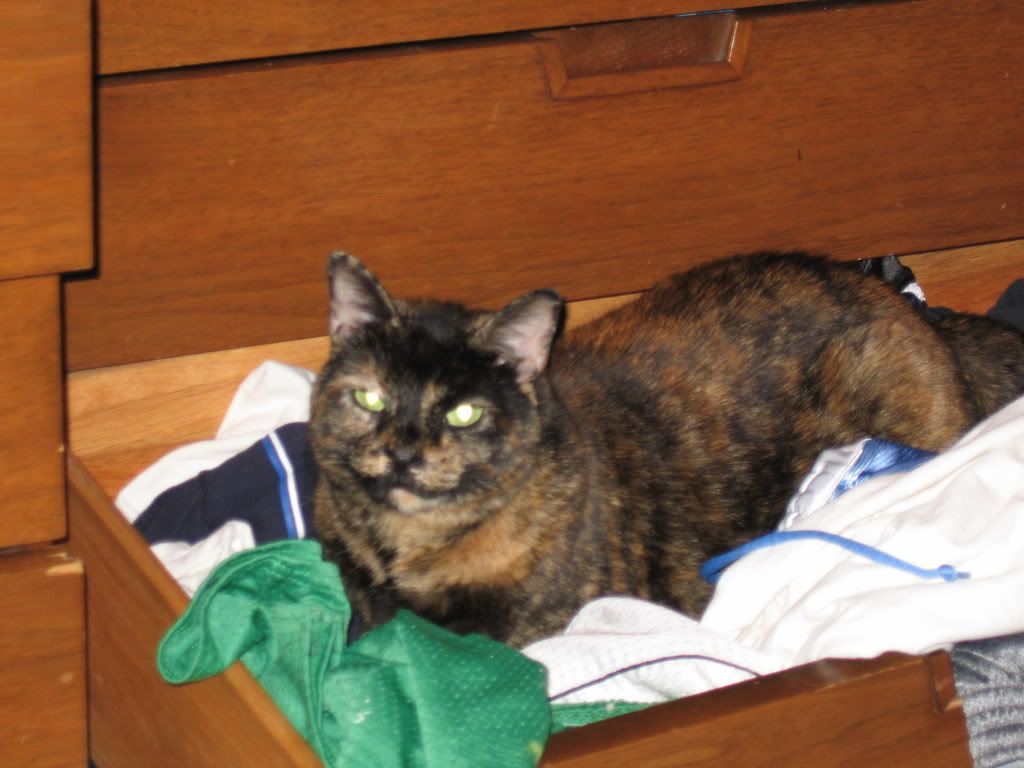
She is sitting on my lap as I post this.
-
Photo of my counter sniper Classic Army CA011M SAR Offizier M41 FS. I like the look and easier to use than the full size G3's.
What do you think?
The front end, and silencer look just a little bit small to me, but other than that I like it.
-
Just got mine today, and it only took a month to get here!
/sarcasm
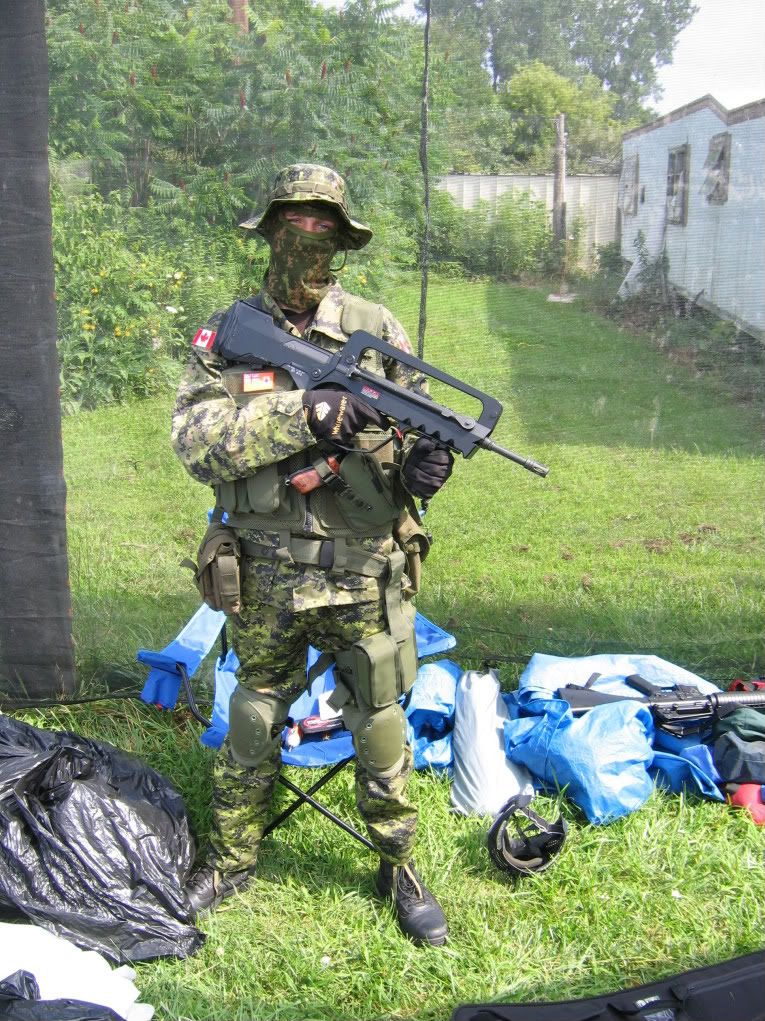
My first set of REAL camo:
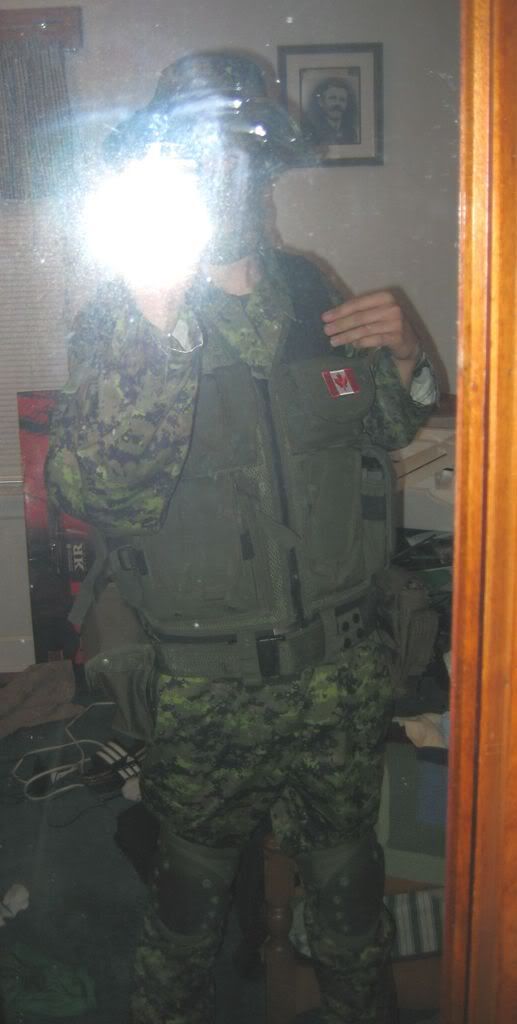
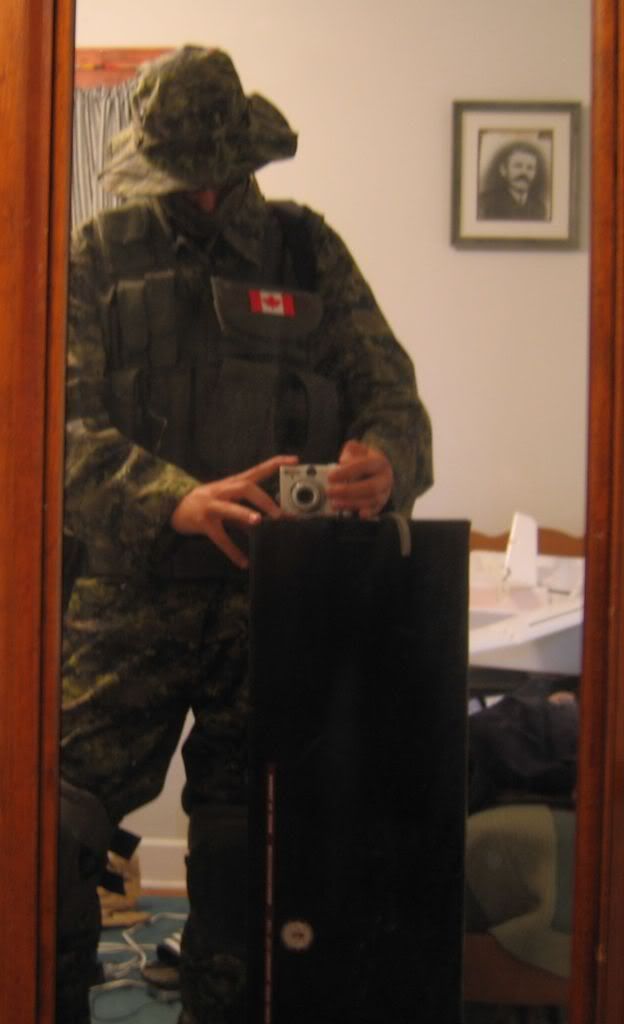
I can't let anyone see my face! Not really, it's just really hard for me to get good pics, and it just turned out that way.
Also, I'm apparently not the only one who likes CAPDAT:
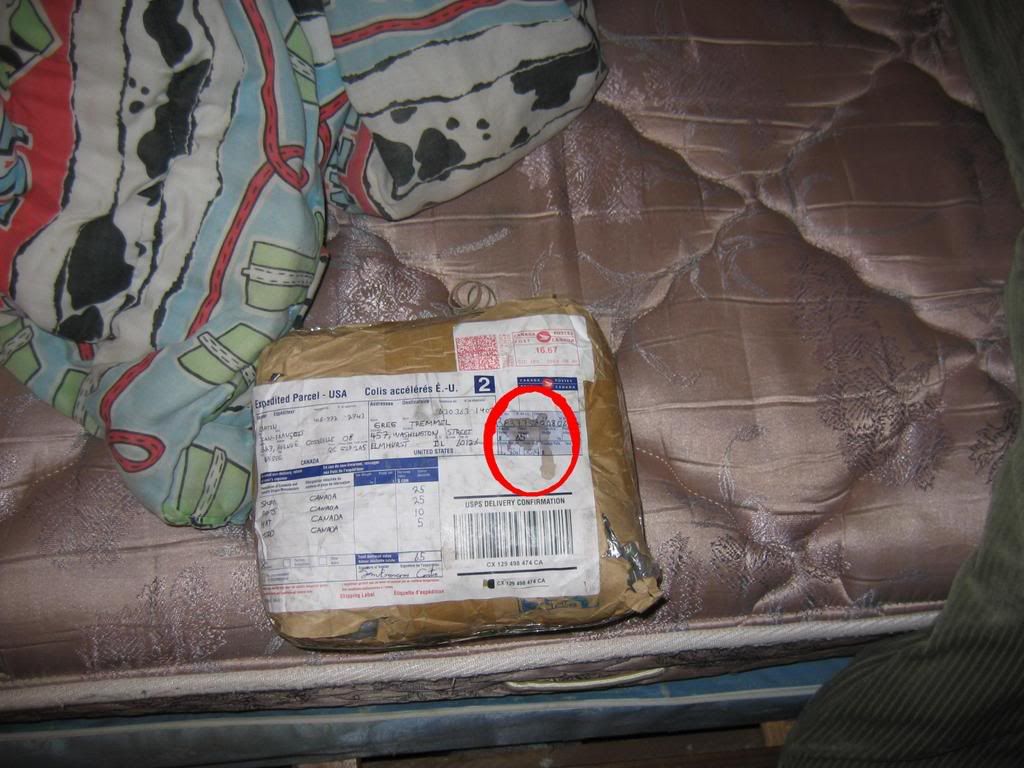
No wonder it took so long to get through customs
-


FN SCAR Picture thread
in Weapons
Posted
That silencer! You've GOT to be compensating for something.....